TUTORIAL for a little origami folded book (this one's for you Sus!!)
This is perhaps the fastest tut known to mankind (womankind.) Here we go:
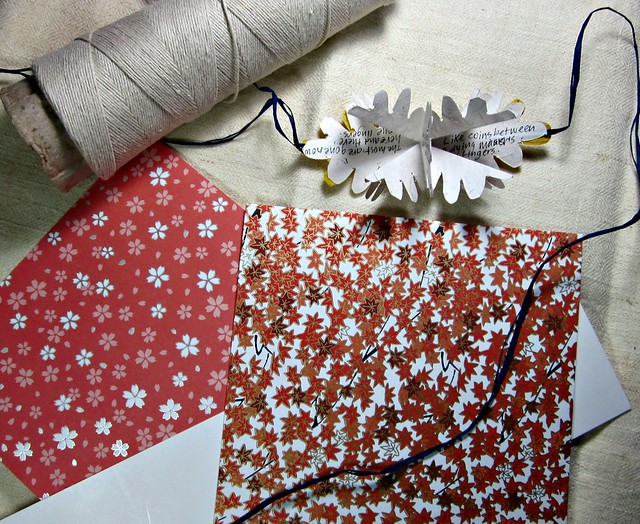
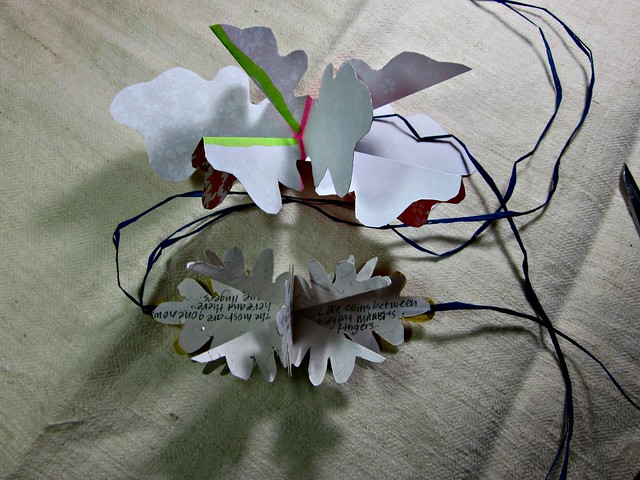
Above you can see the materials used for this quick tut.
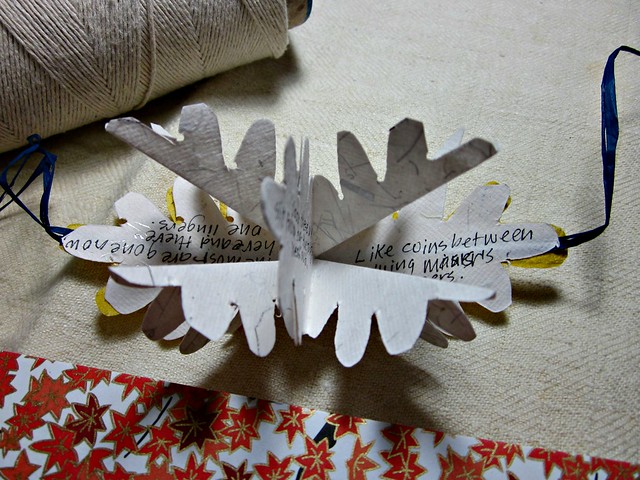
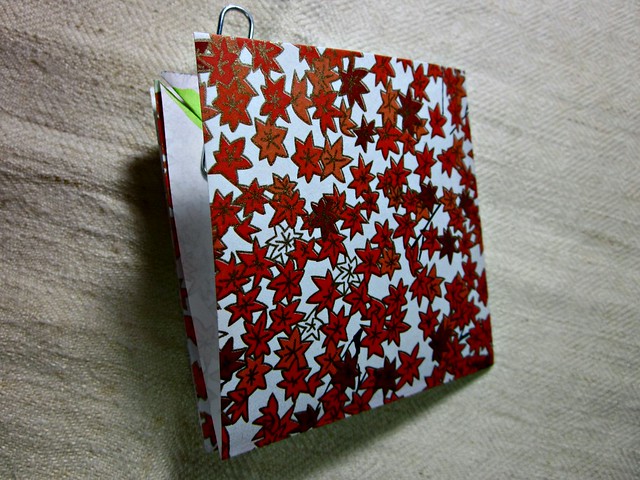
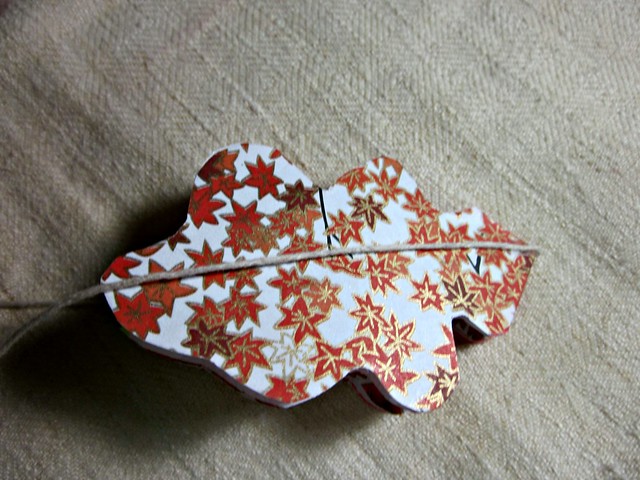
Below you can see a close up of the little book we are going to duplicate:
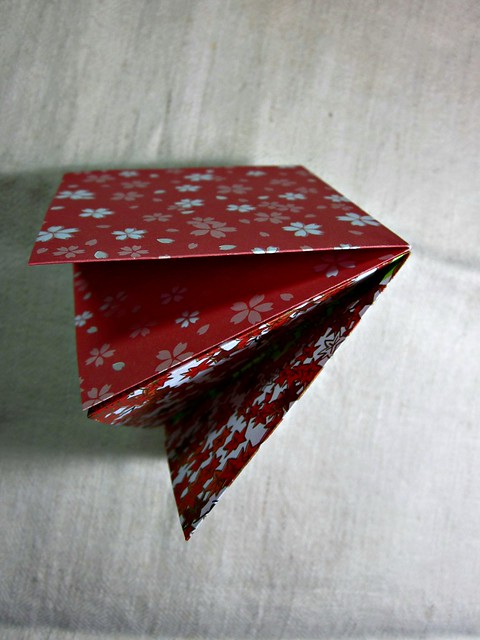
Here it is laying on its' side so you can see another view:
I've used origami paper for this tut. Take a sheet of square paper and fold in half:
Open it up and fold it in half again, in the other direction.
Open it up and flip it over to the other side, and fold along the diagonal:
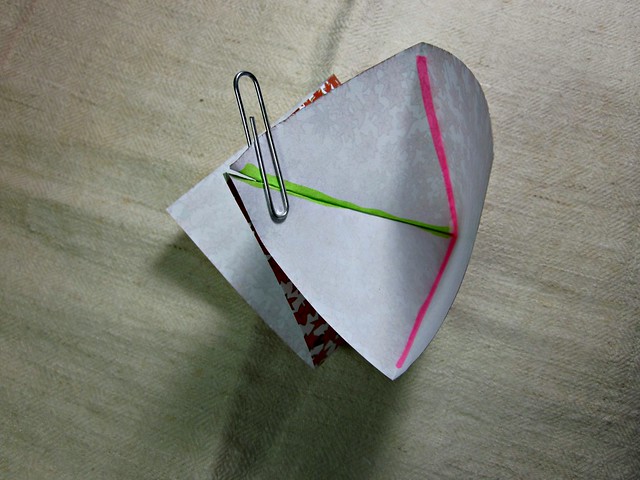
FLIP IT OVER AGAIN, and pinch the fold that is along the diagonal (shown in green in the photo,) and push the paper together until the green folds touch:
Diagonal folds are touching and I've clipped it to shown you what it looks like:
So now you press the paper flat:
Make another folded sheet exactly like the first one and then glue one on top of the other, being sure to match up the open sides, and the folded edges:
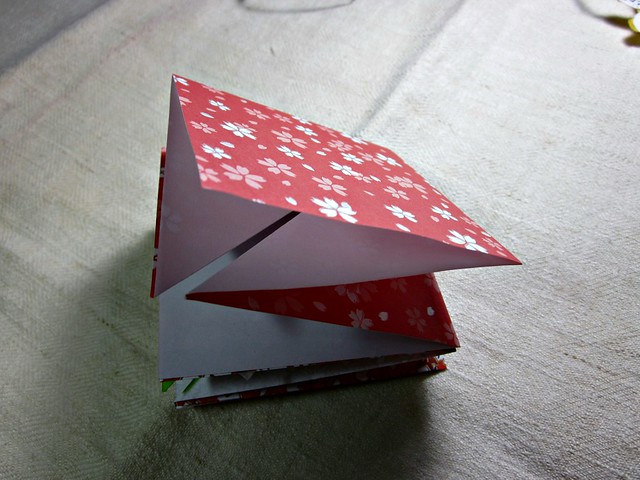
Here is a better view:
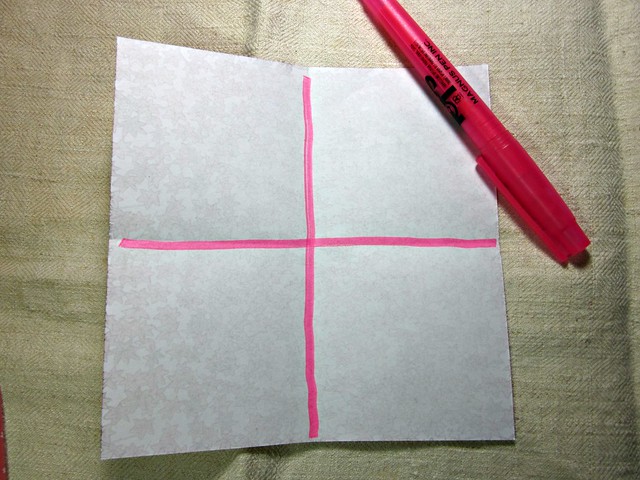
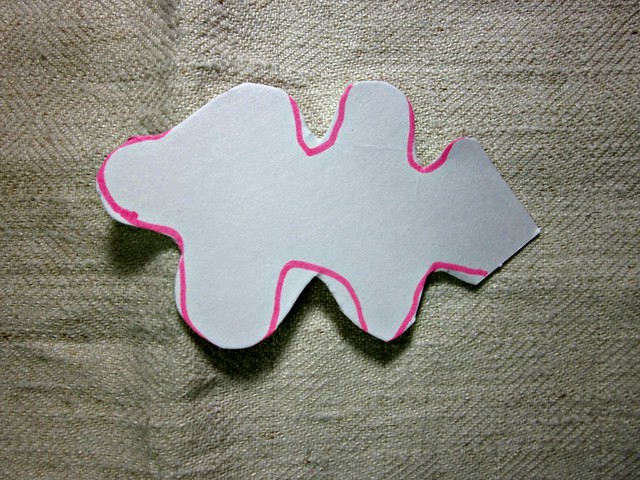
Draw a template:
Cut it out:
Okay this is not rocket science but BE SURE TO HAVE THE FOLDED CORNER OF THE PAPER CONSTRUCTION AT THE EDGE OF THE TEMPLATE SHAPE. If you line up the template shape to snug into the corner that is not folded, then you will have a bunch of paper scrap laying on your lap. Drat! That is not what you want. You want the paper to all join together at the one corner. You'll see what I mean when you cut it:
The template outline has been cut:
Open it up and see what it looks like:
It looks pretty much like what we are going for:
Close the book and glue a ribbon (string for the sample) along the center so that it travels right across the center of the book and over to the other side to meet up at the top:
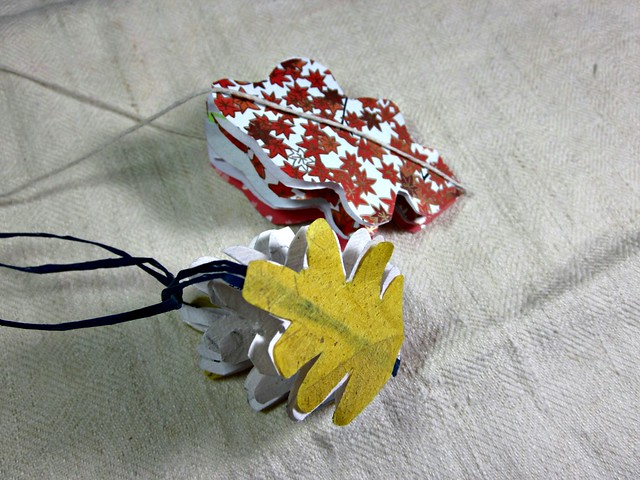
Your book is done and I know you can figure out how to do your own cover. Just see how the yellow cover looks on the original one that I used to compare and copy (for this tut.) Use the template you made as a template for cover paper. What I would do differently, and what I plan to do from now on is this: where the cover paper meets up at the very center fold, I would do a tiny overlap (by making a little tail on one of the cover sides) at the exact center, and gluing it down to cover up the fold itself.
So that is my little tutorial. Don't take things too seriously. Just play and have fun. You can do it. Mistakes are one of the most important parts of the learning process. Don't be afraid to make them.
Thanks for dropping by today, and remember to visit Julia at her blog STAMPING GROUND to see a variety of work desks from all over the place. It's an interesting jaunt. See you soon I hope! Norma, x


Great-fast tutorial! LOL makes sence to me.
ReplyDeleteHave a great day
Krisha #122
wonderful, norma!! thank you!!!
ReplyDeletexoxo
what a lovely leaf booklet !
ReplyDelete(thanks)
You are too clever missus
ReplyDeleteVery ingenious and you have the tutorial perfect. Pictures are so good.
ReplyDeleteBlessings,
Janis www.janiscox.com
Brilliant- love it Have a great week, Hugs,Shaz #65 xx
ReplyDeleteLove it!
ReplyDeleteThanks for sharing
Of course I must try it. Thank you for this little cutie.
ReplyDeleteI'm going to try this. Thanks, Norma!
ReplyDeleteAbsolutely adorable!!!!
ReplyDeleteSorry I am 2 days late getting to your blog. I have been battling a nasty flu bug.
Lori #84
This is so cute will have to give it go - I am not sharing a desk as away from home looking after my friends cattery but enjoying having a good look around everyone else's desk
ReplyDeleteToo cute. I may have to give this a go. April #141
ReplyDeleteI am dancing around the room Norma! thank you thank you thank you for this tutorial - my friend Pia just gave me a pack of origami paper from her recent trip to Seattle, so I am all set to give this a go. xxoo, sus
ReplyDelete