Friday, October 18, 2013

Altered Witch Shoe Blog Hop and Giveaway

Bwaaaaaaa-Haaaaaaaa!! 

Welcome to my spot to celebrate friendship and shoes. Witches shoes that is!!! The lovely Celia of "Adventures of the Striped Stockings" fame, is hosting a get together this weekend (Saturday the 19th and Sunday the 20th) and I welcome you to my place here, to show you what my contribution to the party is:


I made a witch's shoe greeting card that can stand on a shelf to decorate your home. Here you can see the entire card with four decorated shoes. I imagine I'll be adding more stuff before I send it. We'll leave that part to the muse.


I'll be putting the names of the players into a witchs' hat and making the draw tomorrow, so I can hopefully get this off in to the mail system so it'll arrive before Halloween! Thanks for dropping by today and I hope to see you again soon. Hugs, Norma, x

Saturday, October 12, 2013

How I learned to draw a human face...in 7 steps!

dc118: Homage

My homage is to perseverance. Keep at it!! (note to self here)

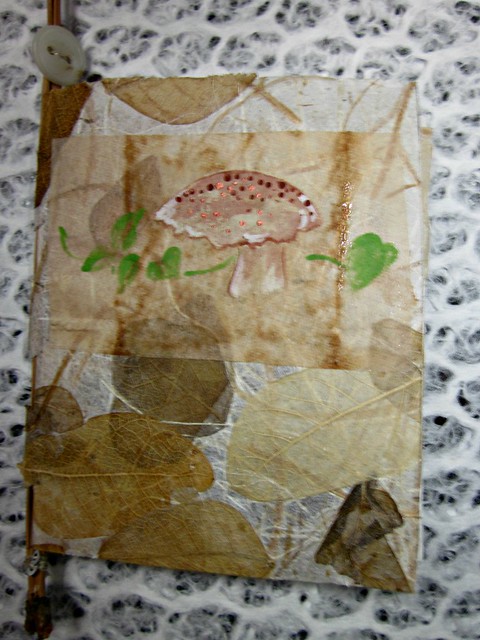
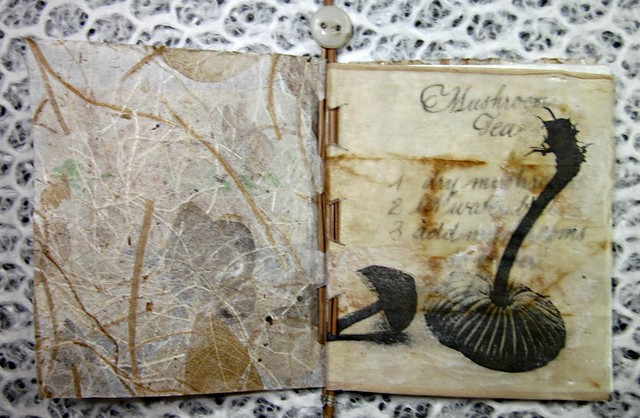
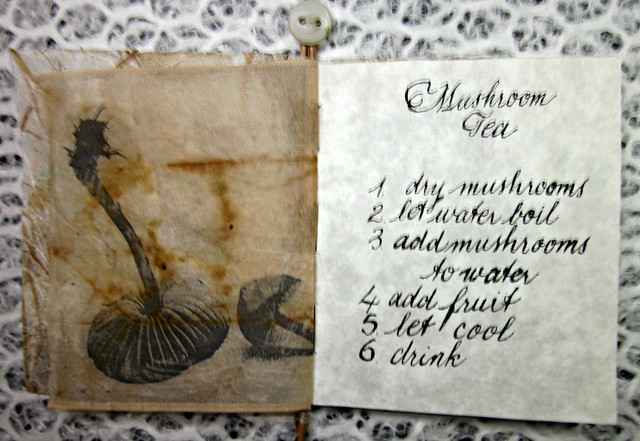
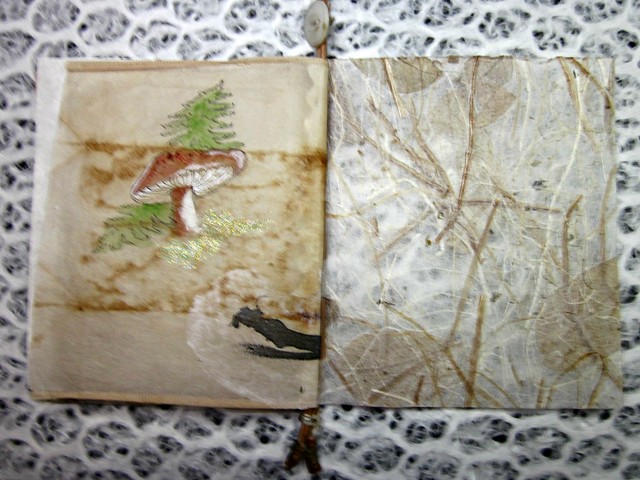
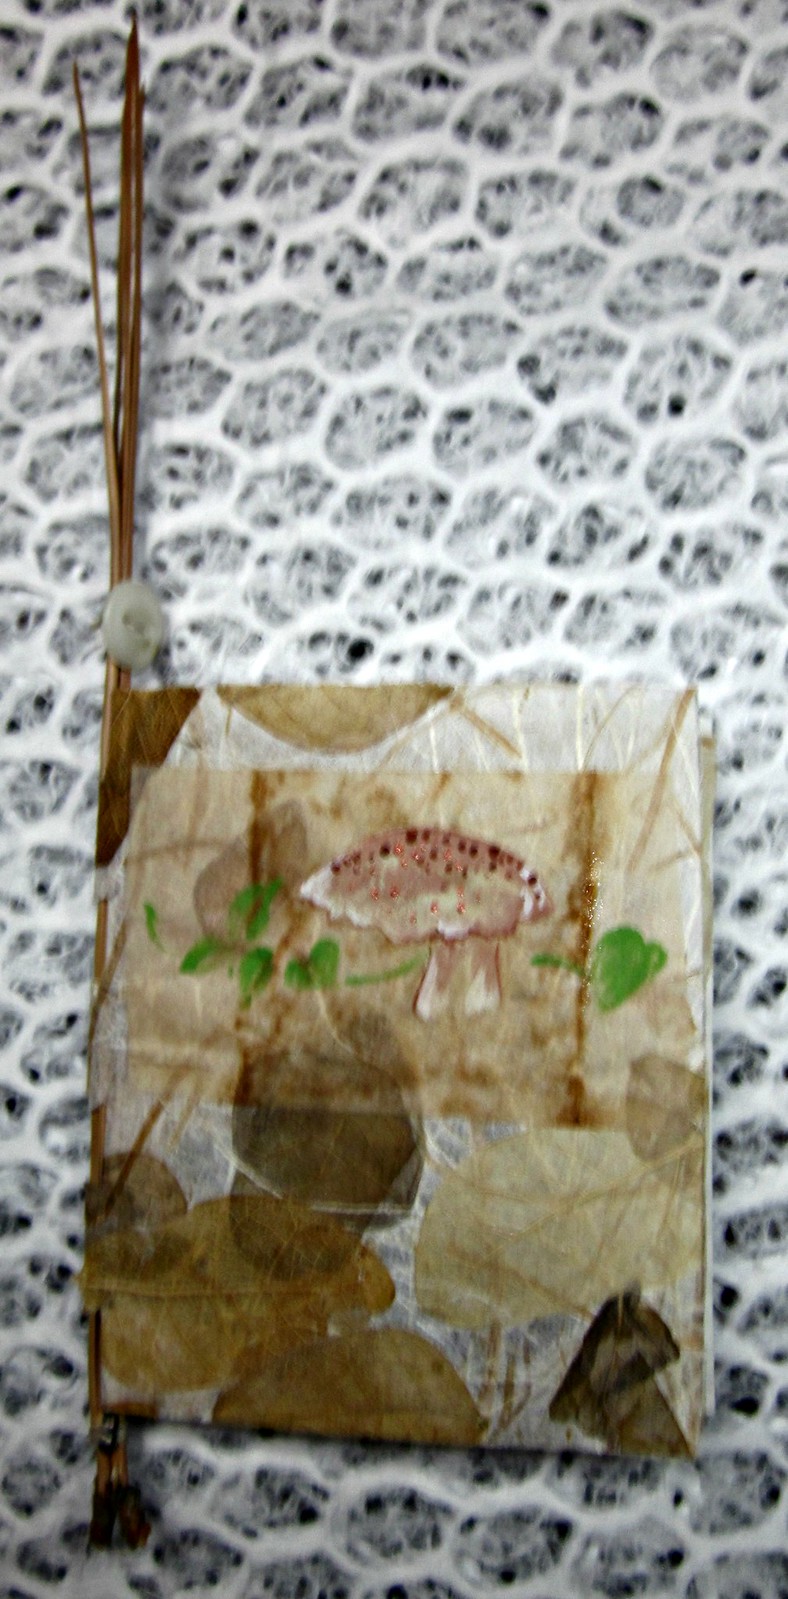
My project for this drawing challenge with the theme 'homage' took a complete right turn as I was busily working on my original idea. Right in the middle of searching for some special papers, I came across a page that I'd tucked away specially so I'd not lose it and of course lost it in my memory of where I'd stashed it. The minute I spotted it, my idea for this drawing challenge took on a different theme.

Some years ago I owned a yahoo group with my daughter. For two years we traded flat paper art dolls every month, with players around the world. I had no drawing skills whatsoever and started with a pretty basic doll. All of my faces were cut from magazines and glued on to a head shape. After a few months I really desired strongly to be able to draw my own face for my art dolls.

One day I found a face shape that I liked a lot, and grabbed a magnifying glass to study it in minute detail. I tried to see it differently than just glancing, and studied the colour of the skin, shadows, angles, little things I'd never noticed before. I grabbed a pencil and my water colour box and a tiny brush and just started to try to copy to my best ability, what I saw through the magnifying glass. The whole procedure took only about 20 minutes and I am not kidding.

Here are the steps I took (I pasted numbers beside the drawing/painting for you to follow):
1. I noticed that there was a definite shadow under the chin area of a face and kind of noticed where about the neck might meet the face area.
2. Clearly, I wanted my gal to have freckles! HA! Now I'm noticing where shading might occur in the eye area and have left the upper lid unshaded. I'm also noticing more about mouth colour/shading, and have extended the eye lashes beyond the edge of the face at this angle.
3. Looking at overall shading of the whole face, and trying to figure out the angle/shading of the nostrils.
4. Now I'm figuring out a pouty mouth shape and more specific shading of the eye area.
5. My pouty gal is coming along. Figuring out eyebrows here.
6. This is a breakthrough. Her eyes have opened! Now she has better shading under the nose and above the upper lip.
7. BINGO. I put all of the above 6 elements together and this is her face and this face is the only face I know how to do and I've been doing it for years now. Her hair is kind of over the top, hey?
8. Studying better face angles.
9. Giving her some life with skin tone and an actual outline that I can use. I made a template of this and used to use the template for everything but now I draw it free hand.

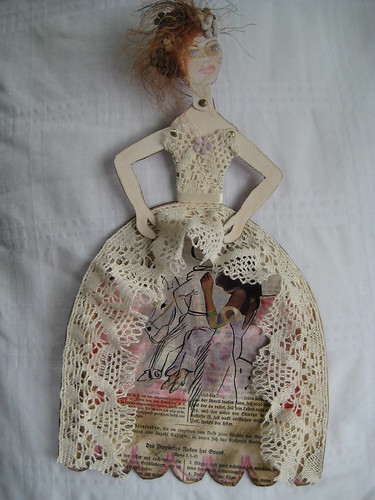
In the folder along with the page of face practicing, I found an outline of the paper doll she was to become. I made a template of this also. The snippet of lace would be important in her dress.

Here is the finished paper doll (which you have seen before and may remember.) She remains one of my all time favourite doll that I've made:


THANK YOU to Kristen, dear art friend. As host you have chosen such a fun experience for me. For me to share my original experience of learning to draw something was a walk down memory lane. To view all of the entries in this drawing challenge pop on over to see Kristen's blog, highlighted above. Thank you for dropping in today and I hope to see you again soon! Norma, x

Sunday, October 6, 2013

Paper cup and saucer

DC117: Cup
I made a paper cup with saucer for your drawing challenge and to honour your birth day! May you have the happiest of times, and may you enjoy the best of health and the most fun creating your beautiful art! Thank you for hosting this week's drawing challenge dear Stefanie! I've missed the whole month of September somehow! I did have fun though. Well, hello everyone! Nice to see you again. For those of you wanting to view the art offered in this drawing challenge with the theme of cup, click on to Stefanie (the birthday gal) above. You'll be transported to a world where much eye candy and good feelings dwell. See you again soon, I hope! Norma, xo

Friday, August 23, 2013

A nod to Mother Nature

dc113: Nature

Well I'd made a little book featuring an accordion hinge for a giveaway and really, the book was my first attempt and not really up to scratch to be actually given to anyone, never mind the winner of the draw! So I had to make another little book in the same style and as it turns out, it is perfect for this drawing challenge with the theme NATURE.

You can see the spine is made of large pine needles (the species of pine is unknown to me, but the trees are from somewhere in the United States.) The needles have been bound and embellished with tiny sequins and a button. The cover paper is handmade Japanese art paper heavily embedded with leaves and plant fibres. On the front cover is a painted mushroom.

Inside are pages of used tea bag paper, and a sheet of vellum. I've added gel medium image transfers of mushrooms, india ink script writing, and another small acrylic painting of a mushroom.

The mushroom theme comes from the idea of a mad tea party event that took place earlier this year. I enjoy making these little books very much and plan to make one for sale in my etsy shop. I'll keep you posted when I get it listed.

For this drawing challenge I applaud and celebrate our illustrious host Nadine who chose the theme of 'nature.' If you visit her blog she'll take you to all of the folk who joined in on this challenge. There is always such a variety of gorgeous and interesting creations offered here. Thank you so much for dropping in today and I hope to see you again soon. Norma, x

This little book will be sent off to its' proper owner (the winner of the draw) Designing Fairy Ronni!

Saturday, August 17, 2013

Beds I Like and My Bed

dc112bed and board 

I started out looking for images of sidetables and maybe headboards that I like which was my planned contribution to the drawing challenge this week. I got stuck on beds, beds, beds. So I am staying with the bed idea. Here are a few that I like and they are ALL from the same site which I'll link to at the end.
And here is my real bed. Well it is a picture of the pretty-much exact same style. It is high off of the floor which I love, and it has the top part on which I drape with fabric according to my whim. Mine is very faded green (the colour of patinated copper) with red contrast. Pictures are painted on the headboard sections and Kali complete with snake is on the very center. Everything is so weathered I don't even wash it. I just give it a light dusting. One day, out of the blue, my Indian neighbour Kim, gave me the bed. It's from India and she used to own a furniture store so she'd get a whole shipment of Indian things to sell. This bed was just leaning against a wall in her garage. I love my bed.
The drawing challenge this week was chosen by our beautiful host Ariane and to see more interesting visuals and art and wonderful surprises, just click on the link and she will take you to such inspiring places. Thank you for dropping in today. I hope to see you again, soon, Norma. Most of the bed images are from my most favourite interior design blog, AN INDIAN SUMMER.

Saturday, August 3, 2013

Whittling down...

dc111: FERN

This challenge took me on a few turns. First, I had numerous ideas and couldn't fix on just one of them. Finally I chose, and as is usual with me, my idea was a large one. I did get a start on it however, so I do have something to show you. This is a fern leaf and you will just have to believe me and use your imagination. It keeps morphing into some generic who-knows-what leaf, perhaps a fancy ivy or something. But my intent was to do a small section of a larger fern leaf, to show the underside where the spores form. I needed a leaf shape form on which to place the spores. Here is what I ended up with. It's a leaf shape made from baked 'Sculpey III.'

I sculpted a leaf shape to start out, then baked it, then formed a mold from it and baked that. From the mold I can make as many leaf shapes as I want. When the clay is pulled from the mold it stretches to make an elongated leaf shape. I like it in the end.

My plan is to make more leaf(s) and put them to use in different projects. I'll show you when I get some of them done. Meanwhile this mold making process is my contribution to the drawing challenge this week.

To see more art works from those playing along, just click onto their names and you'll get to their blogs which show their handiwork. Thanks for dropping in today and I hope to see you again soon. Hugs, Norma, x

THE PLAYERSCindiArianeSusCelineNadinePatrice, Lynne, TammieLee

Tuesday, July 30, 2013

Drawing Challenge invite...

With the theme FERN. Here's some ideas:


In a short time on google images, I found a bevy of beauties to inspire. I'm really looking forward to seeing what you do with this theme FERN. So come on and join in on this drawing challenge by leaving a comment below. I'll start a players list from that. This upcoming weekend, Saturday August 3rd, and Sunday August 4th, post your contribution to the challenge and we'll all have a blast visiting and viewing and oohing and awwing. Anything goes. Photos, drawings, sculpting, painting, writing, cooking, to name a few. Just have the fern idea in your mind. See you soon! *smiles* Norma


LinkWithin

Related Posts Plugin for WordPress, Blogger...