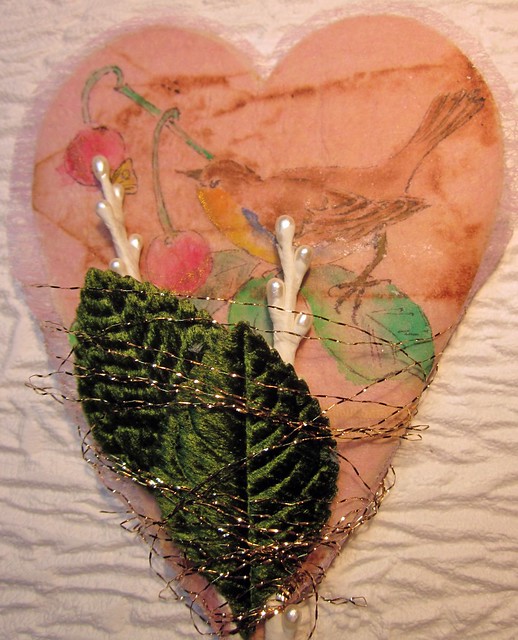
Here is the coaster complete but it will need a hanging cord added later. This is one of two ornaments that will be sent to my swap partner in the Ornament Swap hosted by
Harmony Road Studio!

To start, add layers of text from any source you like, using Mod Podge or whatever glue you like to use. To the left you can see the coaster advertisement I received in the mail recently. To the right you can see layers of paper. I let the paper overlap at the edges. When the glue dries I just cut the overlaps flush with the edge of the coaster. Later everything will be covered along the edges with glue and glitter. That will seal everything around the edge areas.

Here's some sources of images that I liked: a page from a children's book, and an old Christmas card filled with lovely animals celebrating. I'll use some of these images to guide me.

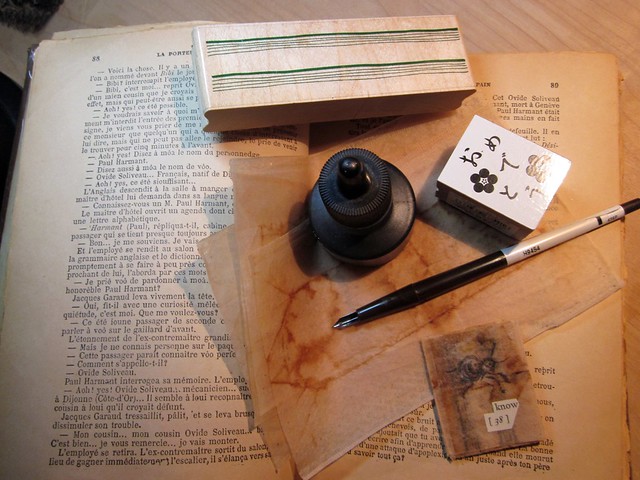
Here you can see that I've begun painting in the image with acrylic and pencil crayons, and have started thinking about how I want to embellish. In this case, a sparkly branch hanging down from the top of the decoration. I painted in a blue sky background but left areas blank so I could see a bit of the original illustration as I was working. I use used tea bag paper and place it directly on top of the original illustration. In between I place a chunk of plastic from packaging so that I can paint with acrylics right over top of the plastic so I don't ruin the original illustration in the book! What I aim for are two things and two things ONLY. Line and brush strokes. I try not to copy per se. Your painting is not going to be 'like' the original but will have strong lines and interesting brush strokes so will have some semblance of being 'arty.'

Keep your pencils sharp but press very lightly if you are using used tea bag paper!

Now I can really see what the ornament might look like, and I'm starting to get excited. The painting part is finished and I've placed a twig to see what that will look like; and dug out distressing pads and glitter.

Now that the painting part is complete, I'm gluing the image which is painted onto used tea bag paper right on to the coaster which had been covered with text. Again, let the edges overlap the coaster. I use a brayer to get rid of air bubbles.

The decoration is almost finished but I noticed that the sky area up top will be a bit boring so I decide to add some words for interest. Place a whole torn out page from an old book [old books that are yellowed with age are the best] and just type in the margin areas, the words you want. In this case I typed: Yes, we're going to a party-party!

Listening to seasonal movies playing in the background and having a sip of something delicious nearby while you are working is entirely optional!

Thanks for dropping by! *smiles* Norma
If you want to see more art from great creative folk go
here! Every Wednesday you can see what people are doing!