More birthday wishes here.
Friday, January 25, 2013
HAPPY BIRTHDAY NADINE
Hope you are rockin' it today! I am thinking of you...hugs, Norma, x
Monday, January 21, 2013
Paper Beads
dc90: Bead
This week I am the host for the drawing challenge and I have chosen the theme "bead."
All are welcome to join in for this challenge. Just make a bead, or show us a bead, or use a bead in your art. Draw it, photograph it, paint it, bead with it, create it in any way you want. I am making paper beads.
If you want to join IN on this challenge, just leave a comment below and I'll start a list of participants.The players: Sus, Ariane, Stefanie, BarbaraBee, Renilde, Helen, Emily, Roberto, Kim, Kristen, Tania, Patrice , Sabine, Rachel
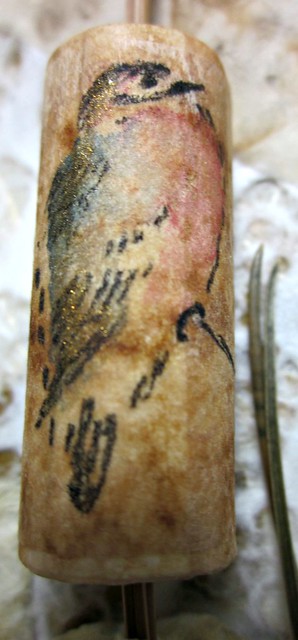
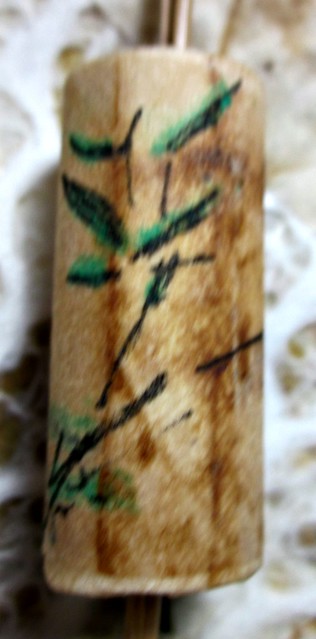
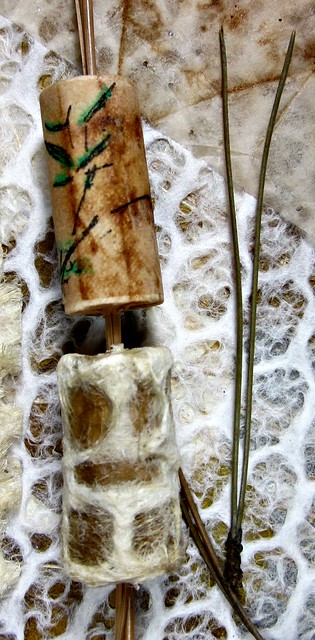
For this challenge I made two beads using paper for the material. This one is of rolled watercolor cold pressed paper and covered with used tea bag paper. A bird and bamboo image was drawn and painted on used tea bag paper and this was collaged on top to make the outer layer. I will be rubbing it with cold wax for a matte finish:This is the other side of the bird bead: Here are the two beads I made. The other bead is 20-lb. bond regular paper rolled, then covered with brown joss paper. The outer layer is Japanese hand made paper that is heavily textured. It's as simple as that: Here are the two beads I made of paper. I made the photo large so you can see what the beads are threaded on to. It is a gigantic pine needle (well a needle is three together here) and it measures 9 inches long. I picked up some pine needles on my street and they are about 3.5 inches in length so you can see just how gigantic this big pine needle is. It comes from somewhere in the U.S.A. I now have a whole bag of them that I purchased at a close out sale in a paper studio. I plan to have some serious fun with these. Well, I hope you like my contribution to the drawing challenge. Participating artists will be posting their work this weekend (26th/27th of January) so drop by here to click on the links to their blogs.
Thanks for dropping in. I hope to see you soon. *smiles* Norma
Friday, January 18, 2013
dc89: Crowns
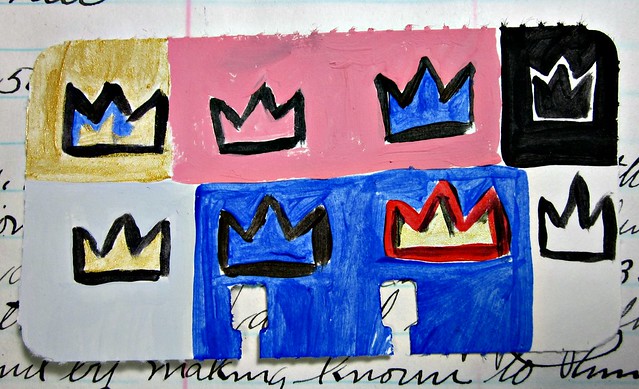
BASQUIAT'S CROWNS
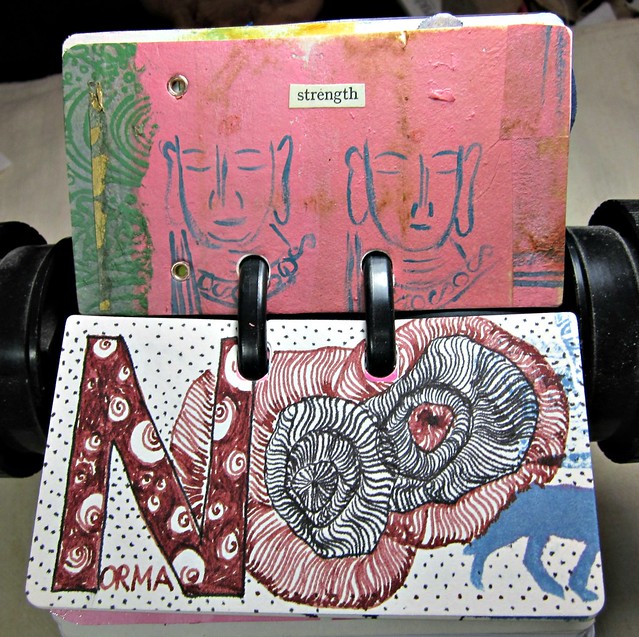
This altered rolodex card is more than happy to join other art pieces in my rolodex art wheel. Here is the planning stage for it:
We were given 'crowns' for the theme for the drawing challenge this week. This was chosen by the lovely and talented Stefanie who graciously hosted for this challenge. Have a look at her blog to see all of the players who offered their art pieces for us all to see. I can hardly wait myself, to see what folk came up with.
Thanks for dropping by today; I hope to see you again, soon!! Hugs, Norma, x
Wednesday, January 16, 2013
WOYWW[189] Paper, Scissors, Glue and String
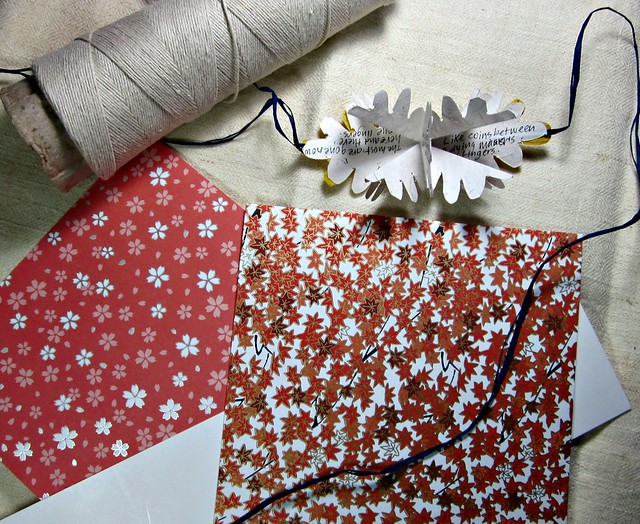
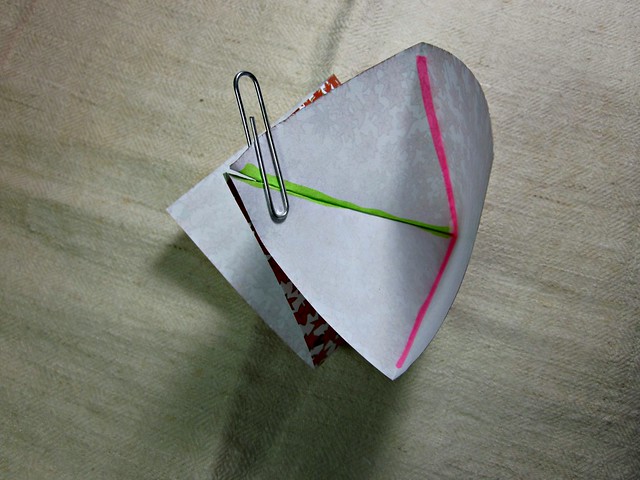
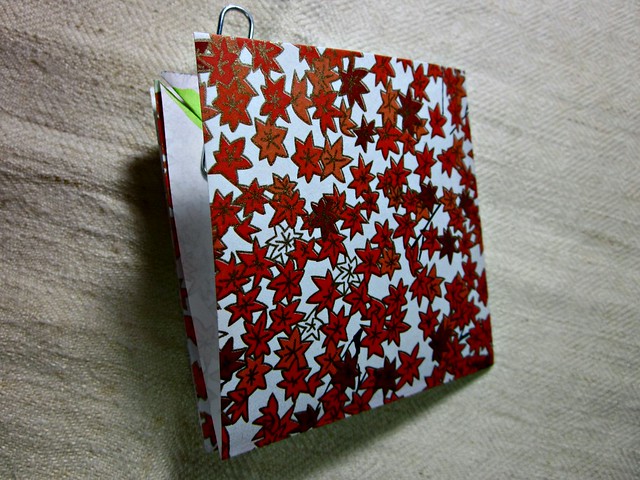
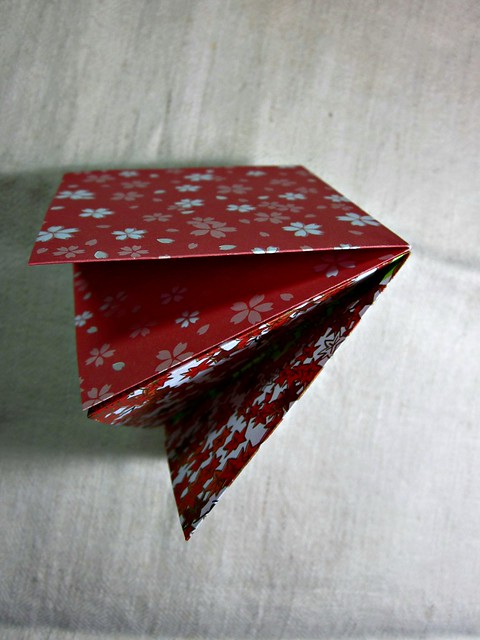
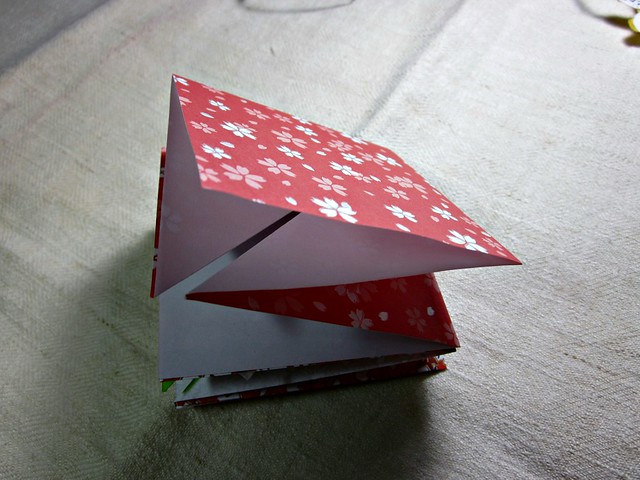
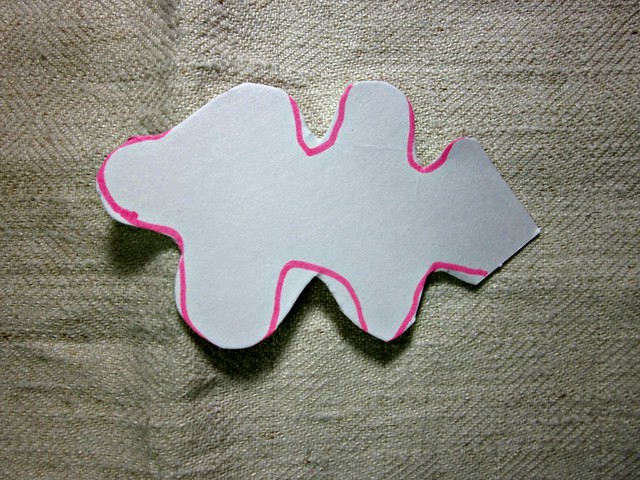
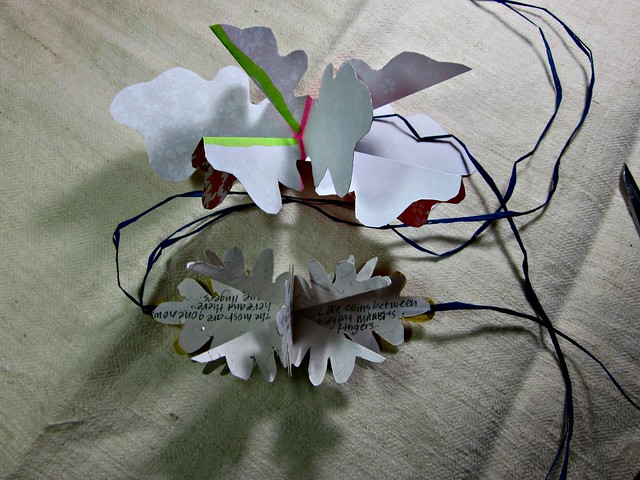
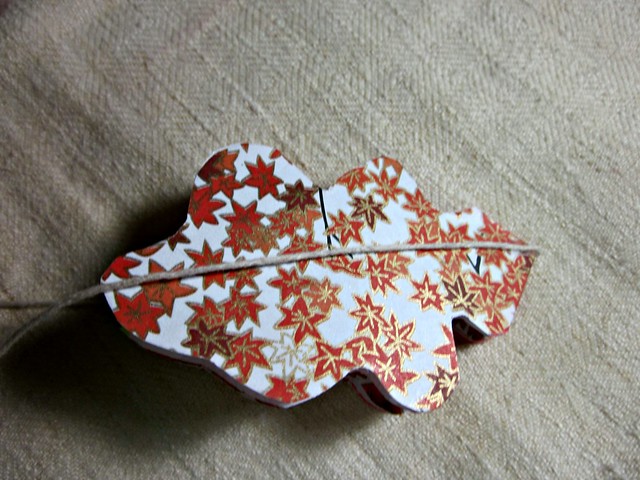
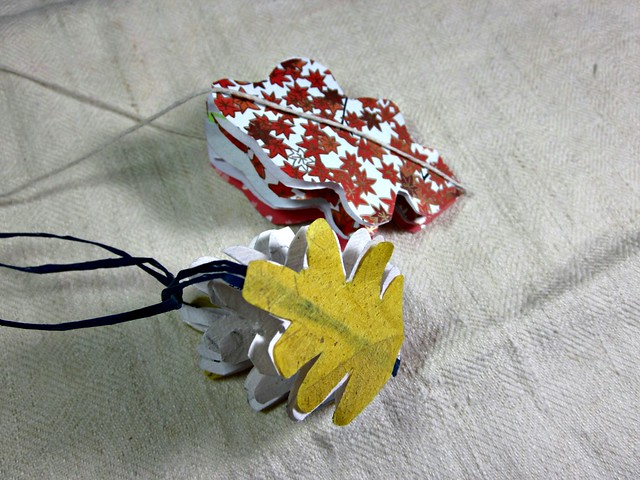
TUTORIAL for a little origami folded book (this one's for you Sus!!)This is perhaps the fastest tut known to mankind (womankind.) Here we go:
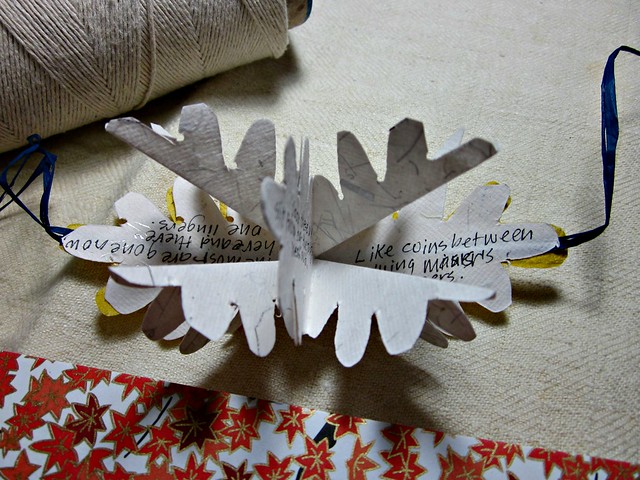
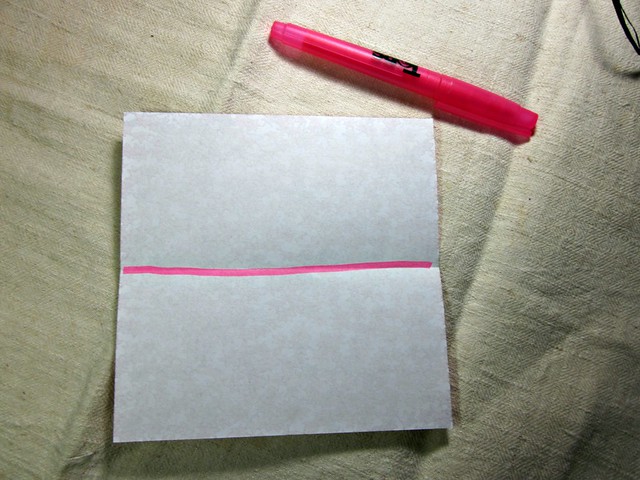
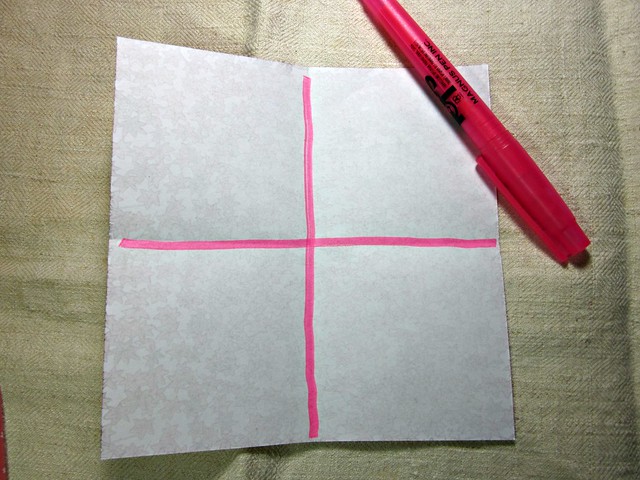
Above you can see the materials used for this quick tut.Below you can see a close up of the little book we are going to duplicate: Here it is laying on its' side so you can see another view: I've used origami paper for this tut. Take a sheet of square paper and fold in half: Open it up and fold it in half again, in the other direction. Open it up and flip it over to the other side, and fold along the diagonal: FLIP IT OVER AGAIN, and pinch the fold that is along the diagonal (shown in green in the photo,) and push the paper together until the green folds touch: Diagonal folds are touching and I've clipped it to shown you what it looks like: So now you press the paper flat: Make another folded sheet exactly like the first one and then glue one on top of the other, being sure to match up the open sides, and the folded edges: Here is a better view: Draw a template: Cut it out: Okay this is not rocket science but BE SURE TO HAVE THE FOLDED CORNER OF THE PAPER CONSTRUCTION AT THE EDGE OF THE TEMPLATE SHAPE. If you line up the template shape to snug into the corner that is not folded, then you will have a bunch of paper scrap laying on your lap. Drat! That is not what you want. You want the paper to all join together at the one corner. You'll see what I mean when you cut it: The template outline has been cut: Open it up and see what it looks like: It looks pretty much like what we are going for: Close the book and glue a ribbon (string for the sample) along the center so that it travels right across the center of the book and over to the other side to meet up at the top: Your book is done and I know you can figure out how to do your own cover. Just see how the yellow cover looks on the original one that I used to compare and copy (for this tut.) Use the template you made as a template for cover paper. What I would do differently, and what I plan to do from now on is this: where the cover paper meets up at the very center fold, I would do a tiny overlap (by making a little tail on one of the cover sides) at the exact center, and gluing it down to cover up the fold itself. So that is my little tutorial. Don't take things too seriously. Just play and have fun. You can do it. Mistakes are one of the most important parts of the learning process. Don't be afraid to make them.
Thanks for dropping by today, and remember to visit Julia at her blog STAMPING GROUND to see a variety of work desks from all over the place. It's an interesting jaunt. See you soon I hope! Norma, x
Monday, January 14, 2013
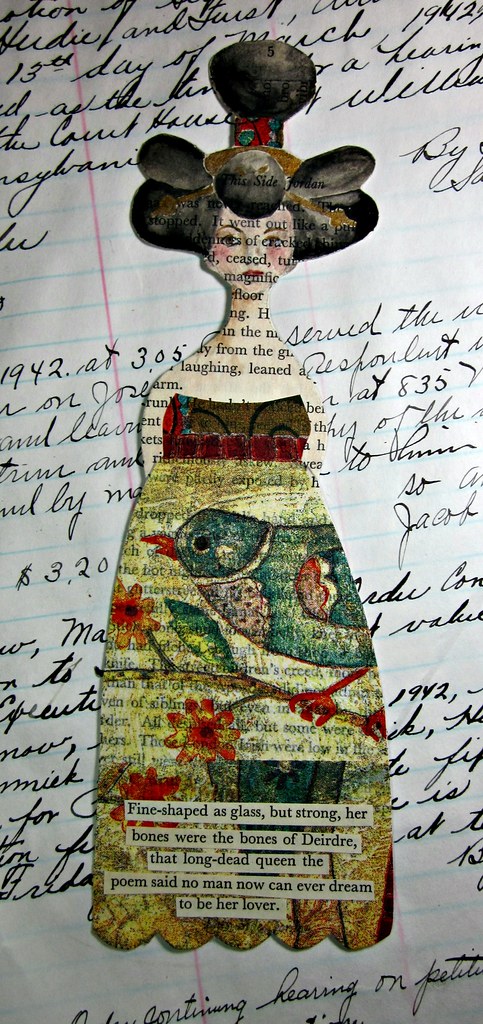
Deirdre
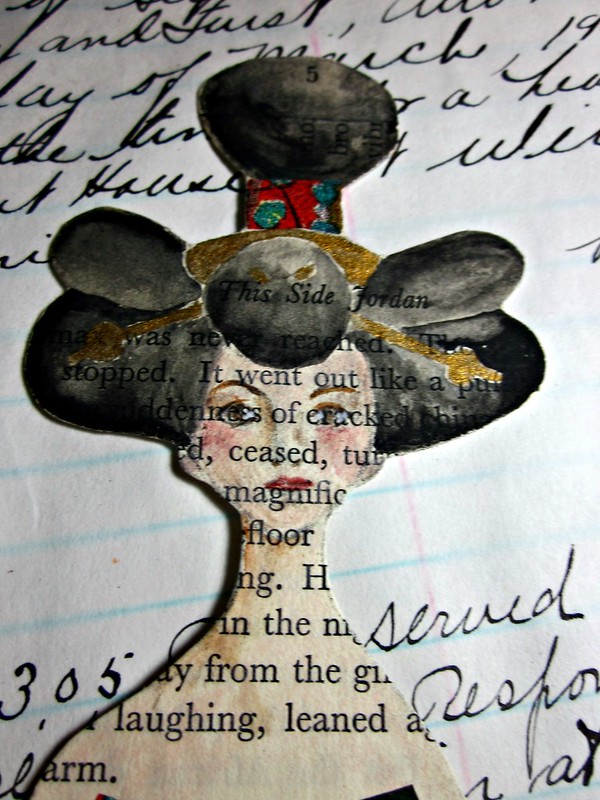
She is a flat paper artdoll made for TAG TUESDAY!
Thanks for having a look today. I hope to see you again soon! Ta. Norma, x
Friday, January 11, 2013
DC88: SNAKE
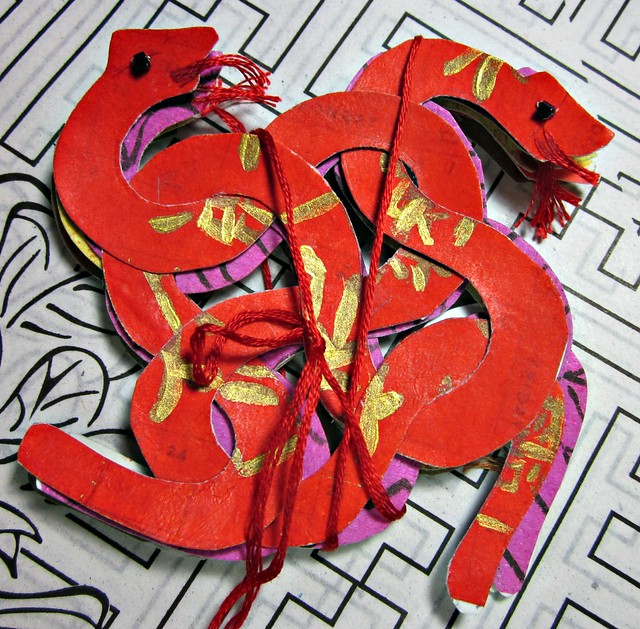
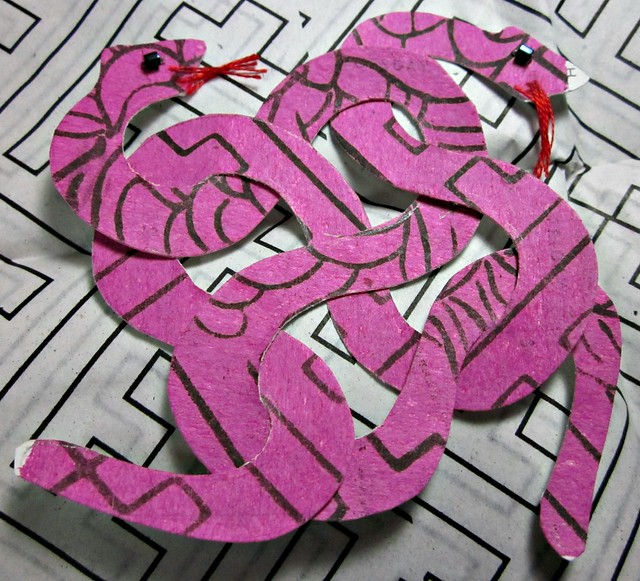
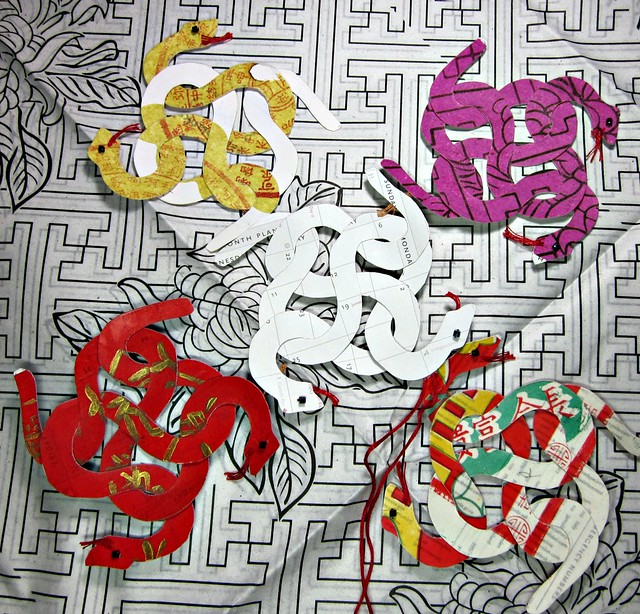
The theme of snake was chosen this week, for the drawing challenge. Our fearless leader Ariane is the host and so gave us this wonderful theme. My offering is a little book of snakes (10 in all) and closed, measures 3.5" X 3.5":
I'd planned to paint a girl petting a snake onto canvas and make it into a brooch, with a crocheted edge, but right in the middle of painting it was not going well and I realized that I was not in the mood to paint. I wanted to work with scissors and glue. So the muse came up with something else entirely. I went with that. Here is the unfolding of the idea:
I used fairly sturdy paper from an old address book from the thrift store, and layered Joss Paper on top. The photo above shows some of the paper, and two snakes cut out from the plastic templates that I made (there are two different snake outlines, that intertwine.) Here is a closer view of the plastic templates. You will have to rely on the shiny reflection of the see-through plastic:
Here is a finished page. You can see that all of the snakes have been given a pair of black beady eyes and a red tongue:
Here are all five pages (one side of them anyway) and they are completely undecorated. I just wanted to get the book put together in a fashion so I could show you and be on time for this challenge!:
Normally, when I make these books I do painting and drawing and collage and glue in quotes and words, or hand write them in, and add sequins, seed beads, gold thread, etc. etc. and I may do that for this snake book if I have time. But for now, it is done. The book ties together with cotton and I plan to make paper beads to finish off the tie ends. I did add a bit of gold acrylic on top of the Chinese writing, to jazz it up a tiny bit.
Thank you for dropping in. I hope to see you again soon! *smiles* NormaP.S. Drop in to see Ariane's blog where you will see work from the artists playing along in this challenge of SNAKE. There will be a variety of fabby work. Eye candy as they say. Have fun!!
P.P.S. Sus, I have not forgotten about doing a tut for the origami style oak leaf little book.
Thursday, January 10, 2013
Another fabulous mail day...
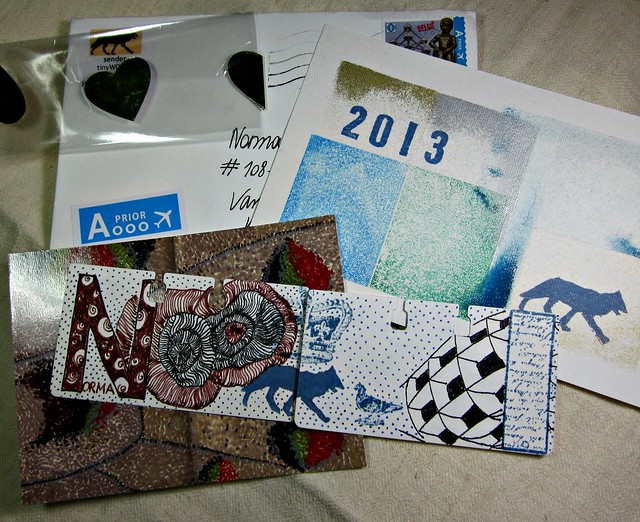
Two days in a row. Wow. Well today brought a surprise package from an art friend, Nadine. She made two altered rolodex art cards for my altered rolodex art wheel. The cards are done in her signature style, and I love them! Here they are as I received them in the package:
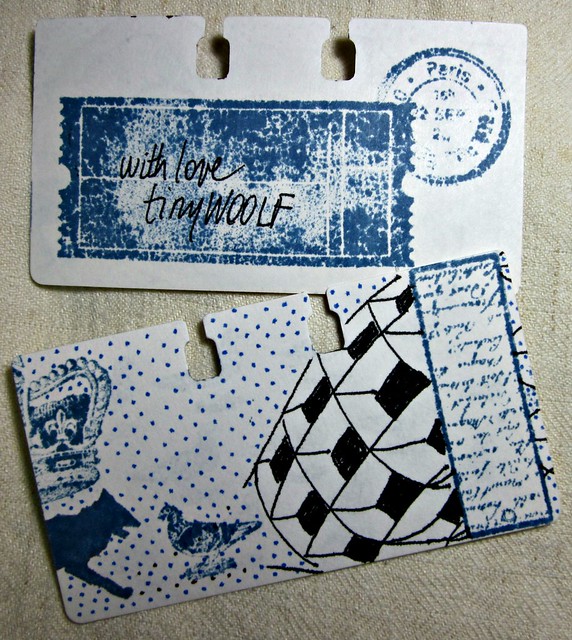
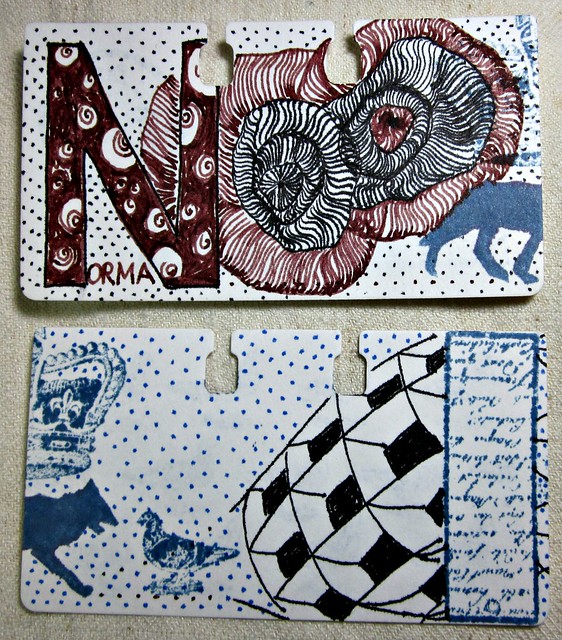
You can see that I also received a greeting card/post card and an art card/post card along with. Such treasure. Close-ups of the rolodex cards:
And here they are placed in the art wheel:
And this is so great an addition to the wheel. It keeps growing...
Nice to see you today; I hope to see you soon, hugs, Norma, x
Wednesday, January 9, 2013
WOYWW[188] and dc:86 cactus and a GREAT mail day...
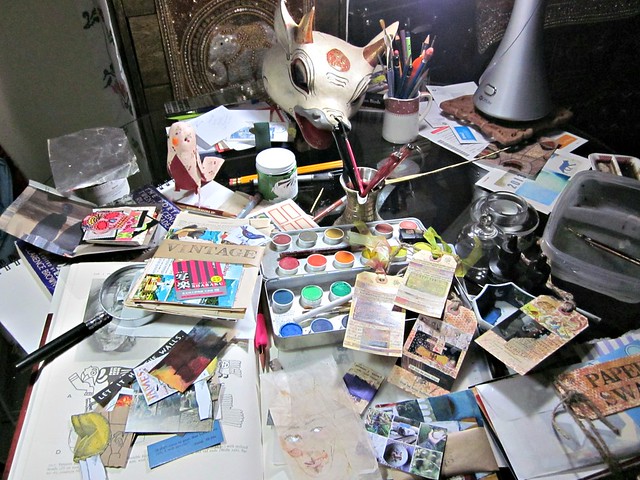
Today is one of those days that could be marked on my calendar. There's a few things going on all at once so let's start with What is on your workdesk Wednesday, hosted by the one and only fabulous Miss Julia. Here is a birds' eye view of my desktop, or work surface which, today, is a table I like to work on because of the glass top:
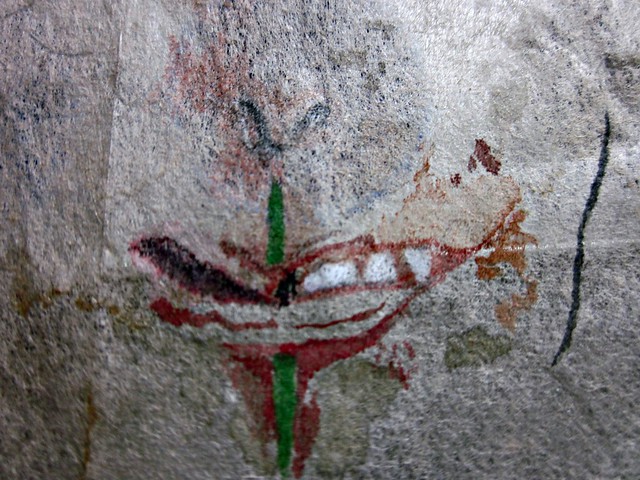
I was calmly working away on a drawing for the drawing challenge no. 86 which has the theme 'cactus' and is hosted by the beautiful Nadine, and while this challenge happened a few weeks ago, I am late for it but still very inspired. I'd found a picture of a mummified head with a cactus spine pinning the lips, and I knew instantly that that was what I wanted to do for the challenge. I worked on used tea bag paper as usual, with india ink, pencil crayons, watercolor paint, and with plans to use gold leaf as a nod to the Mayan cultural art tradition...and happily worked away. Here is a close up of the lips:
The instant I laid eyes on this handsome chap, I was struck by his magnificent teeth, the colour of White Titanium. His lips are pinned with a cactus spine but his teeth peek out from a corner of his lips:
So, really, that is the finished drawing. Because I don't want to do one more mark on it for fear of wrecking it completely. You see I was going to do quite a detailed work, showing his hair wrapped carefully with cloth, etc., and I really wanted his eyes to look fierce. I'd planned to do a tiny bit of gold leaf in his eye area but I could only find silver around here...and I need to practice with the application of it...I painted full strength gesso in the area and it kind of spread more than I'd planned but I let it dry a bit and then rubbed on the silver leaf. Only a part of the silver attached itself and the white gesso kind of spread out even more. But this in the end made him fierce. The white gesso suggests the white of the eye, and the silver leaf suggests an otherworldly iris. He sprang to life before my eyes. He has a kind of scar/wound on his cheek and so to counter that I added pale pink to his other cheek. And he is done!!
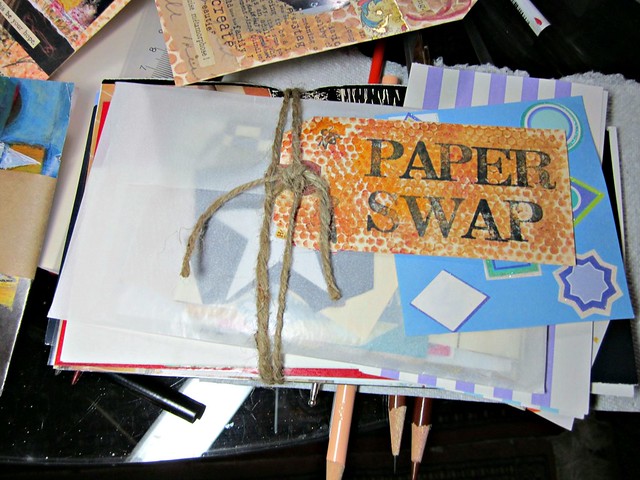
So I was about to clear the deck (my table top), I decided to check the mail. Holy Cow (and I am talking to the cow mask on my work surface that watches me work) there was a package from LaWendula. Suddenly my table was covered in a whole new layer of visual lusciousness:And there are more and more and more little packages filled with small images and an assortment of magic. Some fell on the floor, some in my lap. Oh gosh. I'd ordered some tags from Franca Maria from her etsy shop, and had at the same time signed up for a paper swap so she decided to make me her partner so that she could send everything at once. I thank my lucky stars...
For fun and happiness, drop in to see Julia's fabby blog where players from all over the world show you what is on their workdesk today. And drop in to visit Nadine where you can see different art from different artists who contribute their creative vision to us all. And if you are into paper. For goodness' sake, visit LaWendla, who hosts paper swaps with players who swap from all over this globe of ours.Thank you for dropping in today. I hope to see you again soon! Hugs, Norma,x
Monday, January 7, 2013
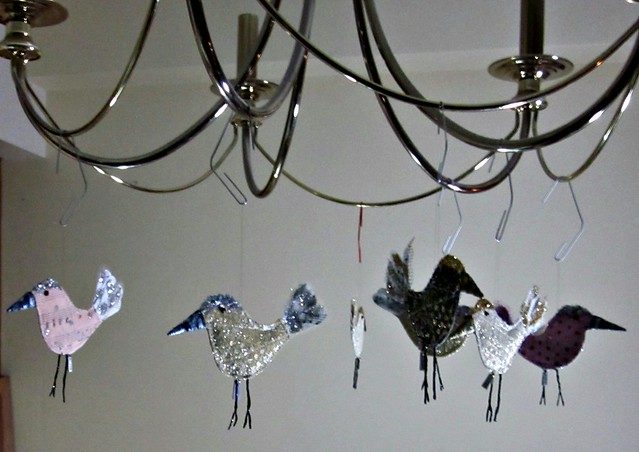
Hanging out on the chandelier
Well that is it! Finally. The birds have been operated on and I am ready to move on. Boy I will not be sad to see these babes leave the nest. And you will probably be glad to not have to listen to my banter about them.
There is always one bird that I keep from a batch (either it is a good sample reference for myself, or for many differing reasons) and this black one will be staying with me.
And now it is time for a little studio clean up and then on with something completely different. I'm itching to paint or draw. I do plan to start a new batch of very RED birds for Valentines' Day but will give myself a break for a few days, and I promise I won't show and tell birds for awhile.
Thanks for dropping in today and I hope to see you again soon! *smiles* Norma, x
Subscribe to:
Comments (Atom)


