Monday, February 4, 2013

PUZZLE PURSE

dc91: Discovery and dc87: Shelter
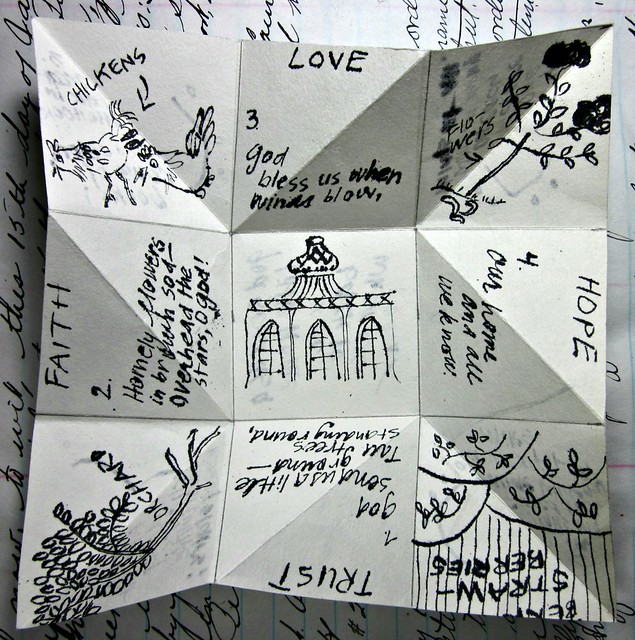
I came up with an idea for the drawing challenge this past weekend, and my results, after a series of unfortunate mishaps, are less than satisfactory, but nonetheless are shown here. This is a puzzle purse that we will discover...
...shows us a poem that slowly presents itself as we open the puzzle purse:
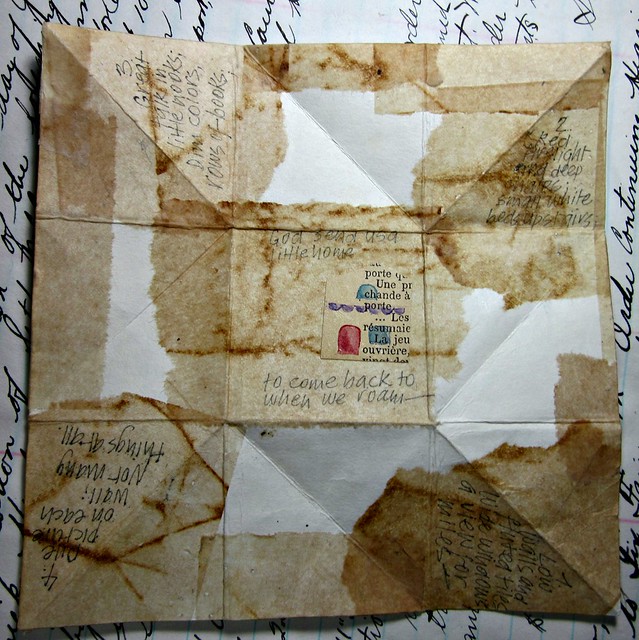
And reveals more as it is fully opened:
There are two layers of discovery for me personally. One is how I handle it when things go completely wrong (with the realization of my art idea anyway.) In the end, I willfully forced myself to complete the purse. I'd spent two days designing it; one day learning how to fold it; one day trying to make a nice finished one which I had to abandon; and one day trying out another nice finished one which I realized that was NOT going to work (once again). I decided to finish that last one to the final and bitter (on my part) end. Here is what I had to work with (or against):
1. every single type of paper I could find around here (I have lots) would NOT accept the india ink without bleeding; 2. my favourite nib pen was dropping the nib and was so loose the nib would fall out on its' own and would not allow me to make a line in an upwards or even sideways motion so that absolutely every mark was made in a downward direction; 3. as I was making a mark the nib was so wobbly it wiggled from side to side every step along the way; 4. the nib finally crumbled right onto the work surface; 5. my only other choice was a huge nib meant for poster work. You can see the change in the mark-making. 6. my earlier designs were too fat and would not fold:
Here is my original design plan prototype:
The puzzle purse is a poem and meant to be carried as an amulet or a prayer. I plan to carry this with me even though it is a dog's breakfast of ugly. Here is the poem:
GOD SEND US A LITTLE HOME God send us a little home to come back to when we roam- Low walls and fluted tiles Wide windows, a view for miles- Red firelight and deep chairs; small white beds upstairs, Great talks in little nooks; dim colours, rows of books, One picture on each wall; not many things at all. God send us a little ground- Tall trees standing round, Homely flowers on brown sod, Overhead, the stars, O God! God bless, when winds blow, our home and all we know.
What I discovered personally, was the kind of home I would like. I want a small orchard, and chickens, and a strawberry patch, and flowers. I want my home to be kind of exotic.
As this lends itself to the theme SHELTER, I decided to combine two drawing challenges in one. I am very late for a few of them it seems.
Thank you for dropping in today and to see more work with these two themes drop by to see Emily who is the host for DISCOVERY, and Renilde who is the host for SHELTER.
See you soon, I hope! *smiles* Norma*

Friday, January 25, 2013

HAPPY BIRTHDAY NADINE

Hope you are rockin' it today! I am thinking of you...hugs, Norma, x
More birthday wishes here.

Monday, January 21, 2013

Paper Beads

dc90: Bead This week I am the host for the drawing challenge and I have chosen the theme "bead."
All are welcome to join in for this challenge. Just make a bead, or show us a bead, or use a bead in your art. Draw it, photograph it, paint it, bead with it, create it in any way you want. I am making paper beads.
If you want to join IN on this challenge, just leave a comment below and I'll start a list of participants.
The players: Sus, Ariane, Stefanie, BarbaraBee, Renilde, Helen, Emily, Roberto, Kim, Kristen, Tania, Patrice , Sabine, Rachel
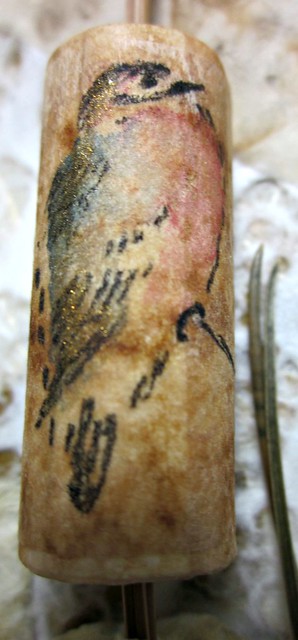
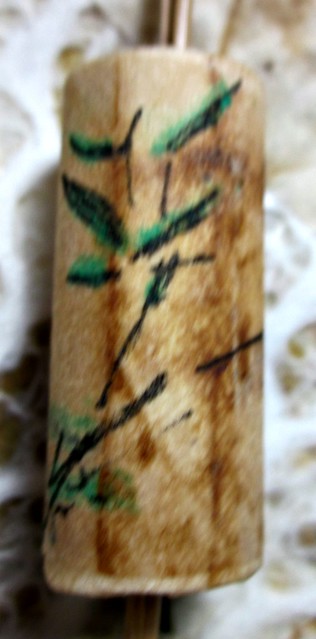
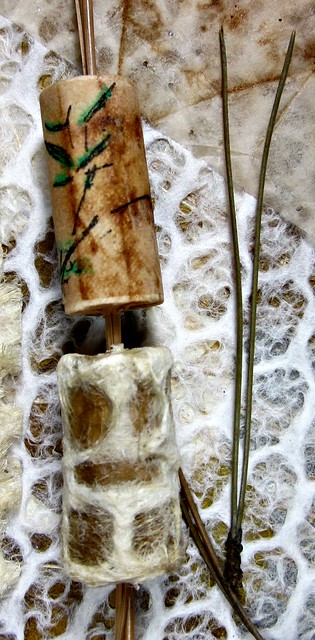
For this challenge I made two beads using paper for the material. This one is of rolled watercolor cold pressed paper and covered with used tea bag paper. A bird and bamboo image was drawn and painted on used tea bag paper and this was collaged on top to make the outer layer. I will be rubbing it with cold wax for a matte finish:
This is the other side of the bird bead:
Here are the two beads I made. The other bead is 20-lb. bond regular paper rolled, then covered with brown joss paper. The outer layer is Japanese hand made paper that is heavily textured. It's as simple as that:
Here are the two beads I made of paper. I made the photo large so you can see what the beads are threaded on to. It is a gigantic pine needle (well a needle is three together here) and it measures 9 inches long. I picked up some pine needles on my street and they are about 3.5 inches in length so you can see just how gigantic this big pine needle is. It comes from somewhere in the U.S.A. I now have a whole bag of them that I purchased at a close out sale in a paper studio. I plan to have some serious fun with these.
Well, I hope you like my contribution to the drawing challenge. Participating artists will be posting their work this weekend (26th/27th of January) so drop by here to click on the links to their blogs.
Thanks for dropping in. I hope to see you soon. *smiles* Norma

Friday, January 18, 2013

dc89: Crowns

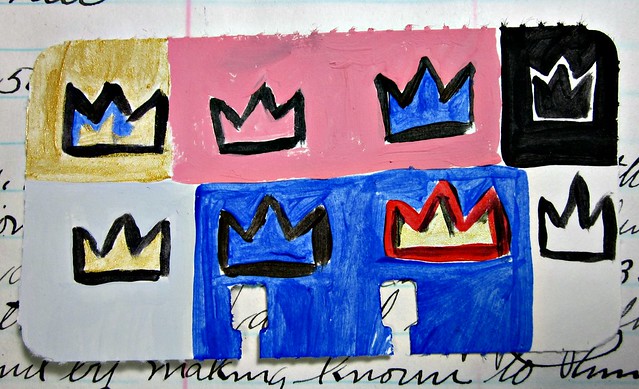
BASQUIAT'S CROWNS
This altered rolodex card is more than happy to join other art pieces in my rolodex art wheel. Here is the planning stage for it:
We were given 'crowns' for the theme for the drawing challenge this week. This was chosen by the lovely and talented Stefanie who graciously hosted for this challenge. Have a look at her blog to see all of the players who offered their art pieces for us all to see. I can hardly wait myself, to see what folk came up with.
Thanks for dropping by today; I hope to see you again, soon!! Hugs, Norma, x

Wednesday, January 16, 2013

WOYWW[189] Paper, Scissors, Glue and String

TUTORIAL for a little origami folded book (this one's for you Sus!!)
This is perhaps the fastest tut known to mankind (womankind.) Here we go:
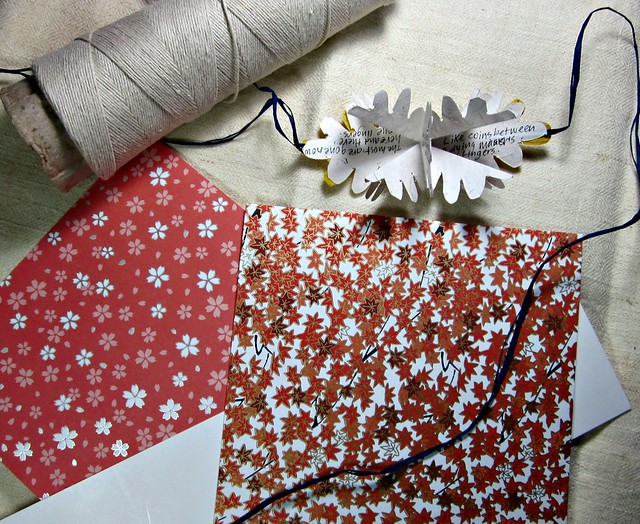
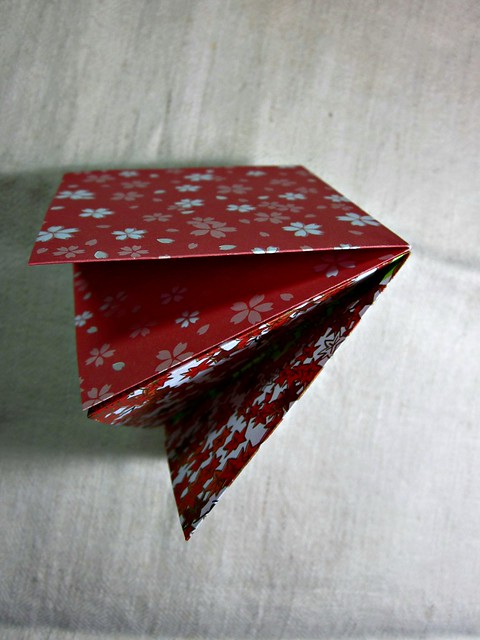
Above you can see the materials used for this quick tut.
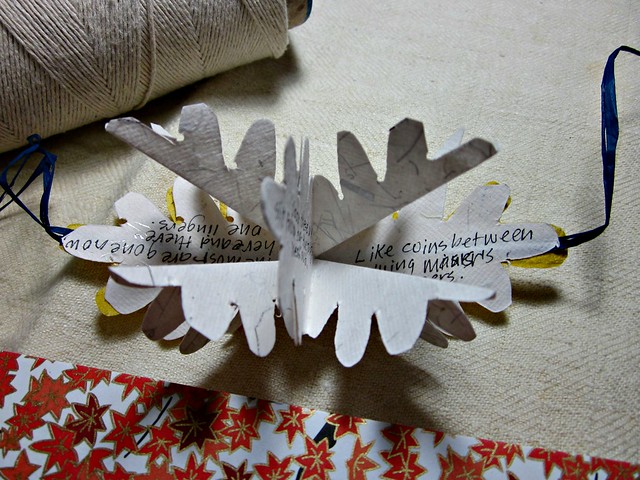
Below you can see a close up of the little book we are going to duplicate:
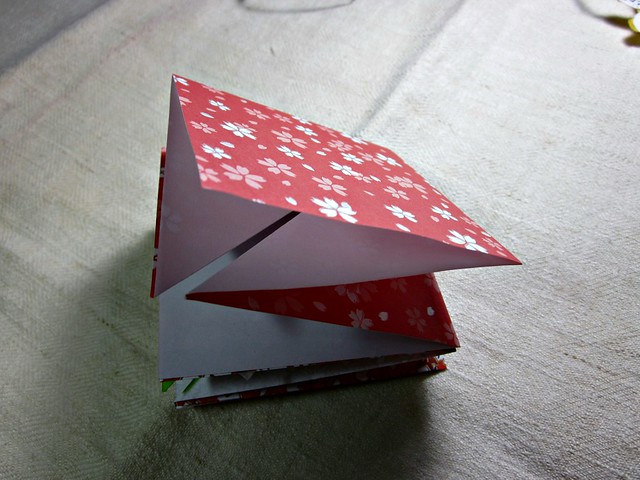
Here it is laying on its' side so you can see another view:
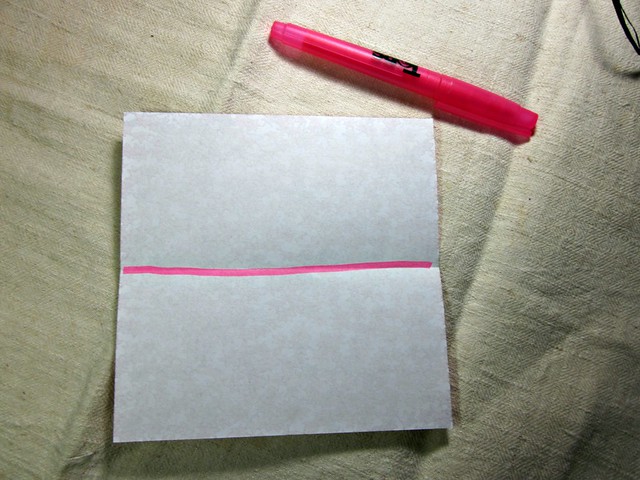
I've used origami paper for this tut. Take a sheet of square paper and fold in half:
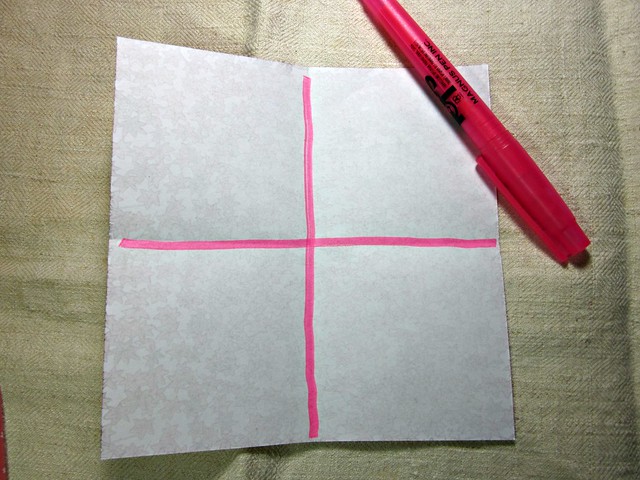
Open it up and fold it in half again, in the other direction.
Open it up and flip it over to the other side, and fold along the diagonal:
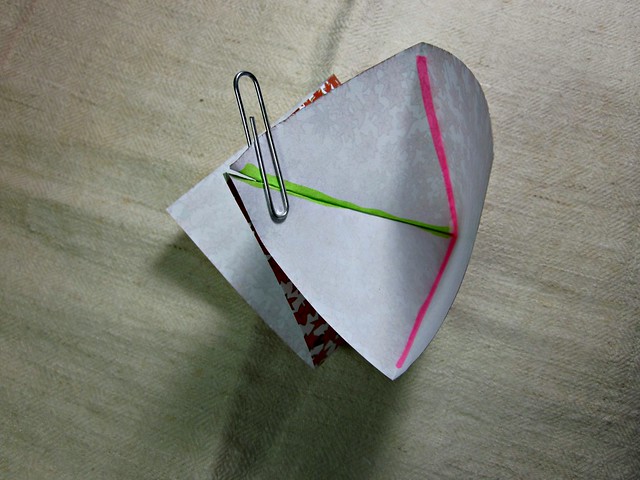
FLIP IT OVER AGAIN, and pinch the fold that is along the diagonal (shown in green in the photo,) and push the paper together until the green folds touch:
Diagonal folds are touching and I've clipped it to shown you what it looks like:
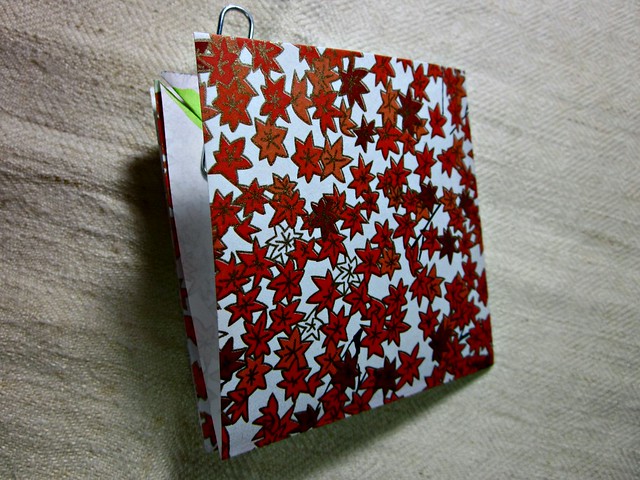
So now you press the paper flat:
Make another folded sheet exactly like the first one and then glue one on top of the other, being sure to match up the open sides, and the folded edges:
Here is a better view:
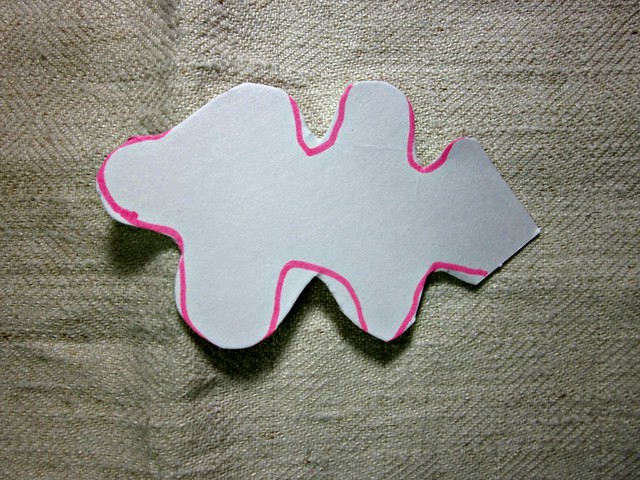
Draw a template:
Cut it out:
Okay this is not rocket science but BE SURE TO HAVE THE FOLDED CORNER OF THE PAPER CONSTRUCTION AT THE EDGE OF THE TEMPLATE SHAPE. If you line up the template shape to snug into the corner that is not folded, then you will have a bunch of paper scrap laying on your lap. Drat! That is not what you want. You want the paper to all join together at the one corner. You'll see what I mean when you cut it:
The template outline has been cut:
Open it up and see what it looks like:
It looks pretty much like what we are going for:
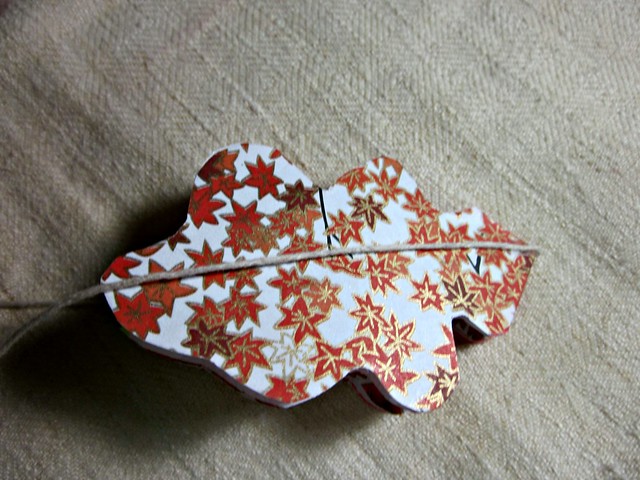
Close the book and glue a ribbon (string for the sample) along the center so that it travels right across the center of the book and over to the other side to meet up at the top:
Your book is done and I know you can figure out how to do your own cover. Just see how the yellow cover looks on the original one that I used to compare and copy (for this tut.) Use the template you made as a template for cover paper. What I would do differently, and what I plan to do from now on is this: where the cover paper meets up at the very center fold, I would do a tiny overlap (by making a little tail on one of the cover sides) at the exact center, and gluing it down to cover up the fold itself.
So that is my little tutorial. Don't take things too seriously. Just play and have fun. You can do it. Mistakes are one of the most important parts of the learning process. Don't be afraid to make them.
Thanks for dropping by today, and remember to visit Julia at her blog STAMPING GROUND to see a variety of work desks from all over the place. It's an interesting jaunt. See you soon I hope! Norma, x
Monday, January 14, 2013

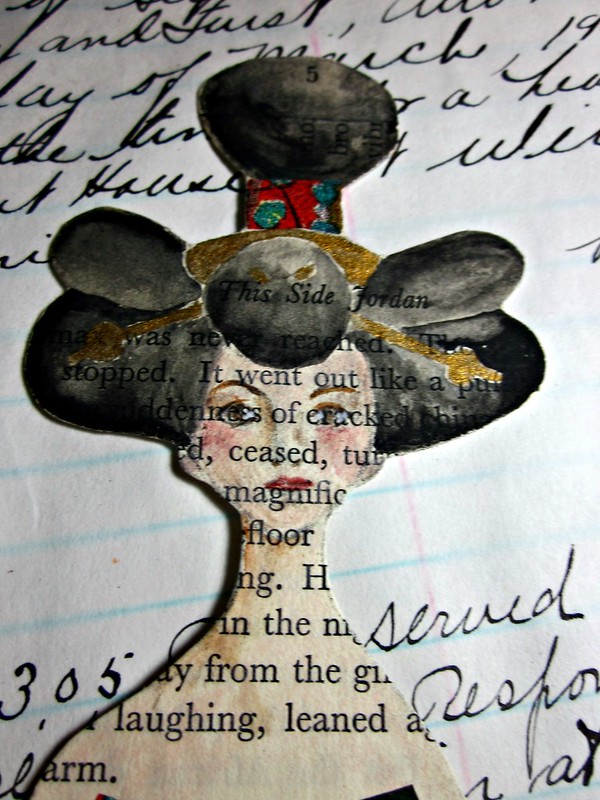
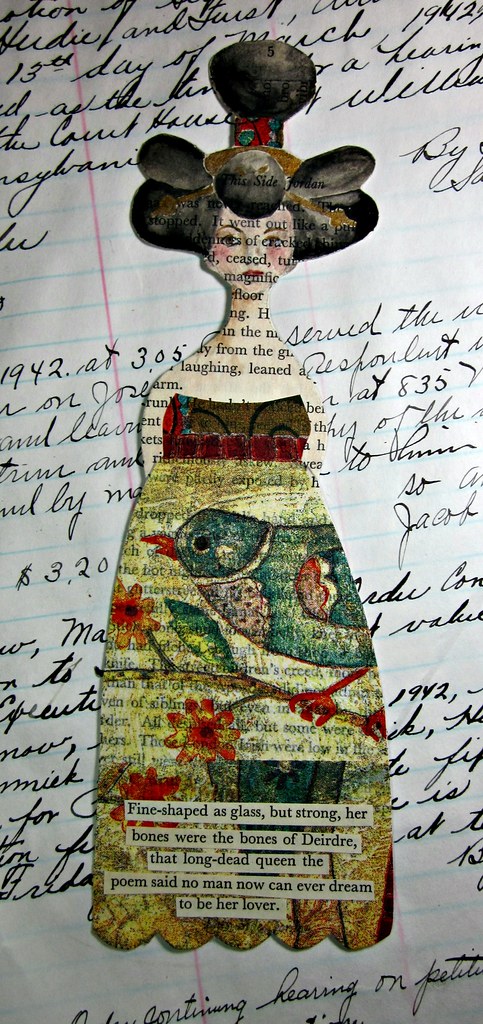
Deirdre

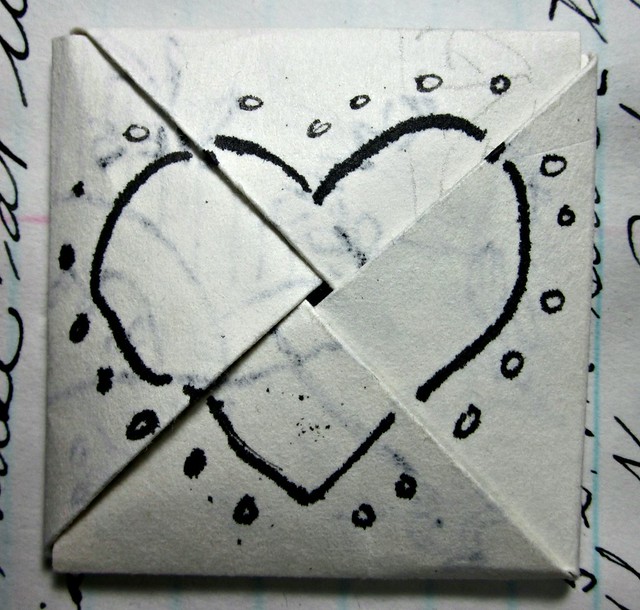
She is a flat paper artdoll made for TAG TUESDAY! Thanks for having a look today. I hope to see you again soon! Ta. Norma, x
Friday, January 11, 2013

DC88: SNAKE

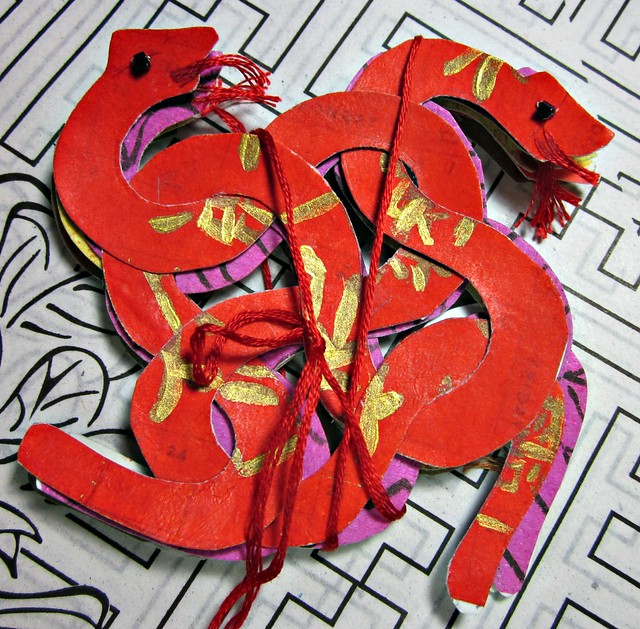
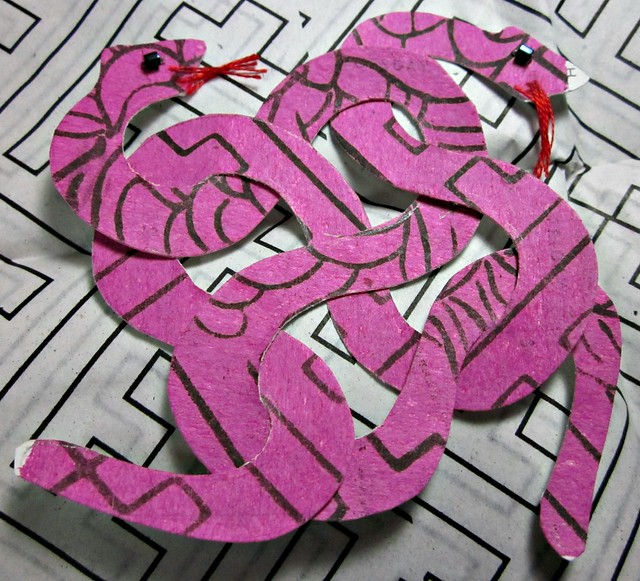
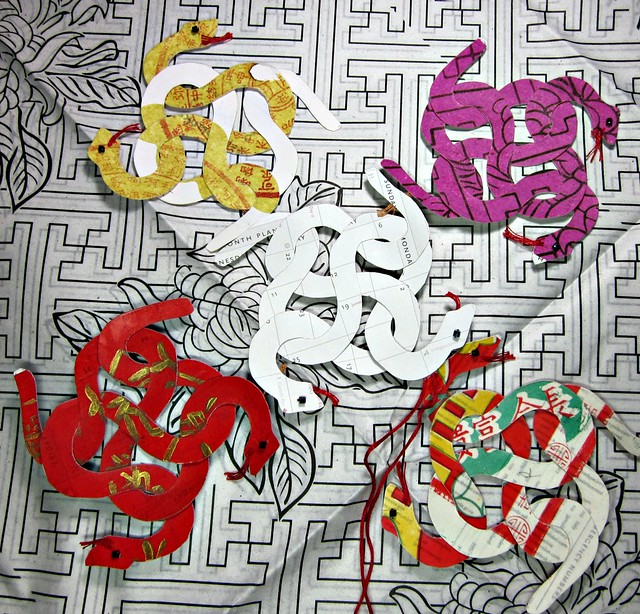
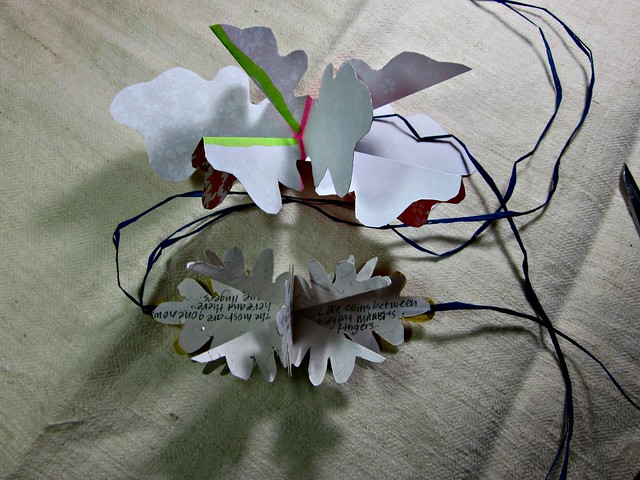
The theme of snake was chosen this week, for the drawing challenge. Our fearless leader Ariane is the host and so gave us this wonderful theme. My offering is a little book of snakes (10 in all) and closed, measures 3.5" X 3.5":
I'd planned to paint a girl petting a snake onto canvas and make it into a brooch, with a crocheted edge, but right in the middle of painting it was not going well and I realized that I was not in the mood to paint. I wanted to work with scissors and glue. So the muse came up with something else entirely. I went with that. Here is the unfolding of the idea:
I used fairly sturdy paper from an old address book from the thrift store, and layered Joss Paper on top. The photo above shows some of the paper, and two snakes cut out from the plastic templates that I made (there are two different snake outlines, that intertwine.) Here is a closer view of the plastic templates. You will have to rely on the shiny reflection of the see-through plastic:
Here is a finished page. You can see that all of the snakes have been given a pair of black beady eyes and a red tongue:
Here are all five pages (one side of them anyway) and they are completely undecorated. I just wanted to get the book put together in a fashion so I could show you and be on time for this challenge!:
Normally, when I make these books I do painting and drawing and collage and glue in quotes and words, or hand write them in, and add sequins, seed beads, gold thread, etc. etc. and I may do that for this snake book if I have time. But for now, it is done. The book ties together with cotton and I plan to make paper beads to finish off the tie ends. I did add a bit of gold acrylic on top of the Chinese writing, to jazz it up a tiny bit.
Thank you for dropping in. I hope to see you again soon! *smiles* Norma
P.S. Drop in to see Ariane's blog where you will see work from the artists playing along in this challenge of SNAKE. There will be a variety of fabby work. Eye candy as they say. Have fun!!
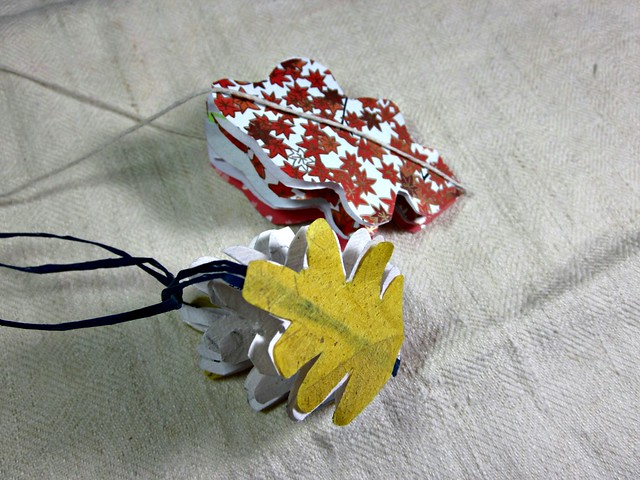
P.P.S. Sus, I have not forgotten about doing a tut for the origami style oak leaf little book.

LinkWithin

Related Posts Plugin for WordPress, Blogger...